An introduction to Scripting
Scripting Intro
Unix
Instead of running commands one after another like we do when we are interactively coding at the command-line, we can put the same commands into a plain-text file and then run the file. That will execute them one after another just like if we were running them individually. That’s the basis of scripting, and it’s great both for reproducibility and for saving time 🙂
Things covered here:
- What a script is
- Adding positional arguments
- If/then basic framework
- Adding print statements
- What a shebang is
- Permissions
This intro page covers just the fundamentals of scripting at the command line. Like with other things, this can get much more complicated as we need it to, but the basics covered here are enough to get us up and running! This page is not meant to be a detailed dive into shell scripting or all that it encompasses. If looking for a more technical and in-depth treatment like that, linuxconfig.org has one here that would be a great place to start.
NOTE
This page assumes we already have some familiarity with working at a Unix-like command-line. If that’s not the case yet, then consider running through the Unix crash course first 🙂
Binder available
If wanting to follow along, we can work in our own Unix-like environment, or if we don’t have one or just want a temporary setup to run through this tutorial, we can open a Binder by clicking this badge – ![]() . After the screen loads, we can click the folder icon at the top-left to save some space, and then click the “Terminal” icon under “Other” at the bottom to launch our command-line environment:
. After the screen loads, we can click the folder icon at the top-left to save some space, and then click the “Terminal” icon under “Other” at the bottom to launch our command-line environment:

Our first script
First we’ll demonstrate that a script is just a bunch of lines we could otherwise run interactively, but put in a file instead. Let’s make a new directory to play in:
mkdir ~/unix-scripting-intro
cd ~/unix-scripting-intro
Remember that if we run date at the command line, it will print back some temporal information according to the computer we are using:
date

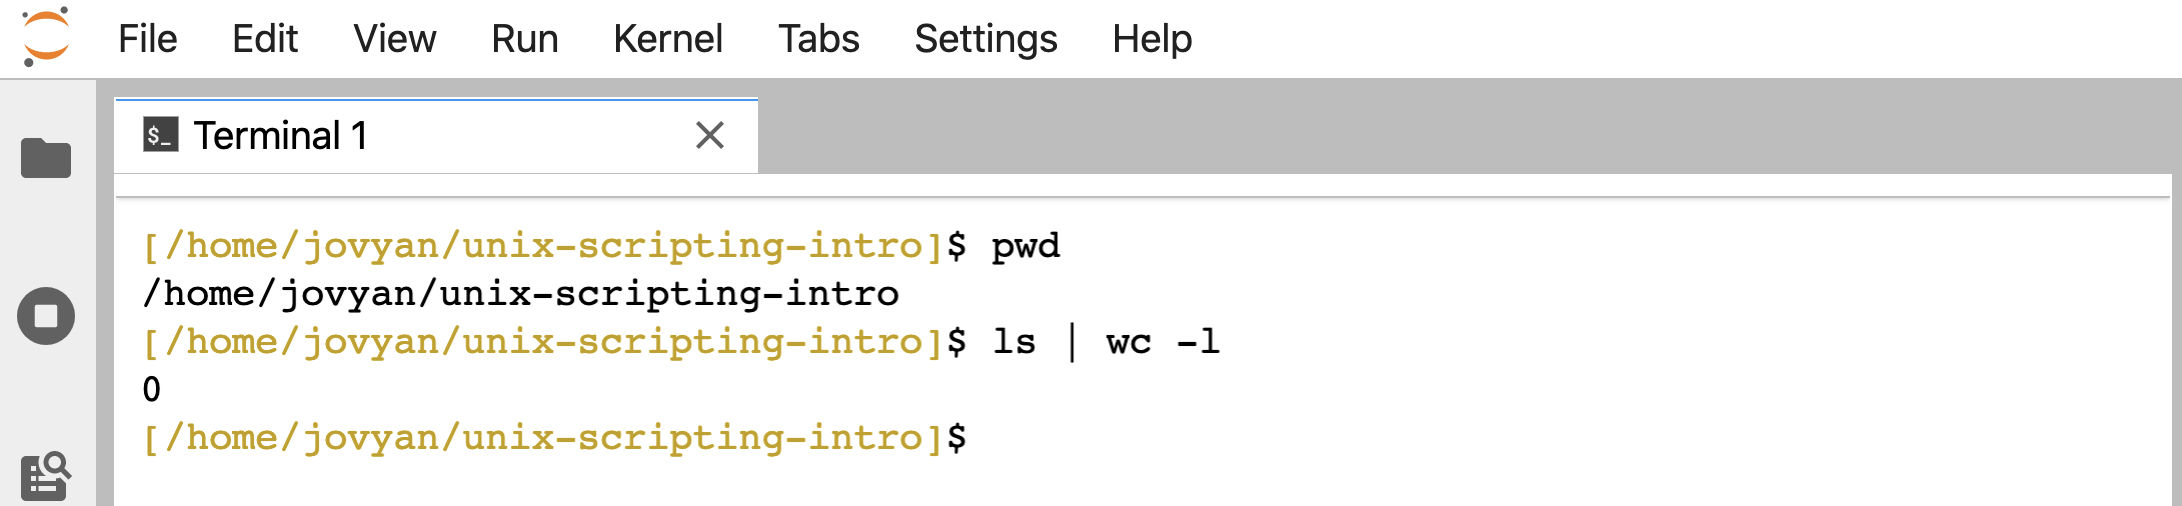
And remember that pwd will print the current working directory, and and piping ( | ) ls into wc -l will count how many directories and files are in the current working directory (which will currently be 0 for us at the moment):
pwd
ls | wc -l
We were introduced to the command-line text editor nano in part 2 of the Unix Crash Course, so we’re going to use that here to make our first script, adding the 3 commands we just ran to it. It is convention to name a command-line script like this with the extension .sh for “shell”:
nano first-script.sh
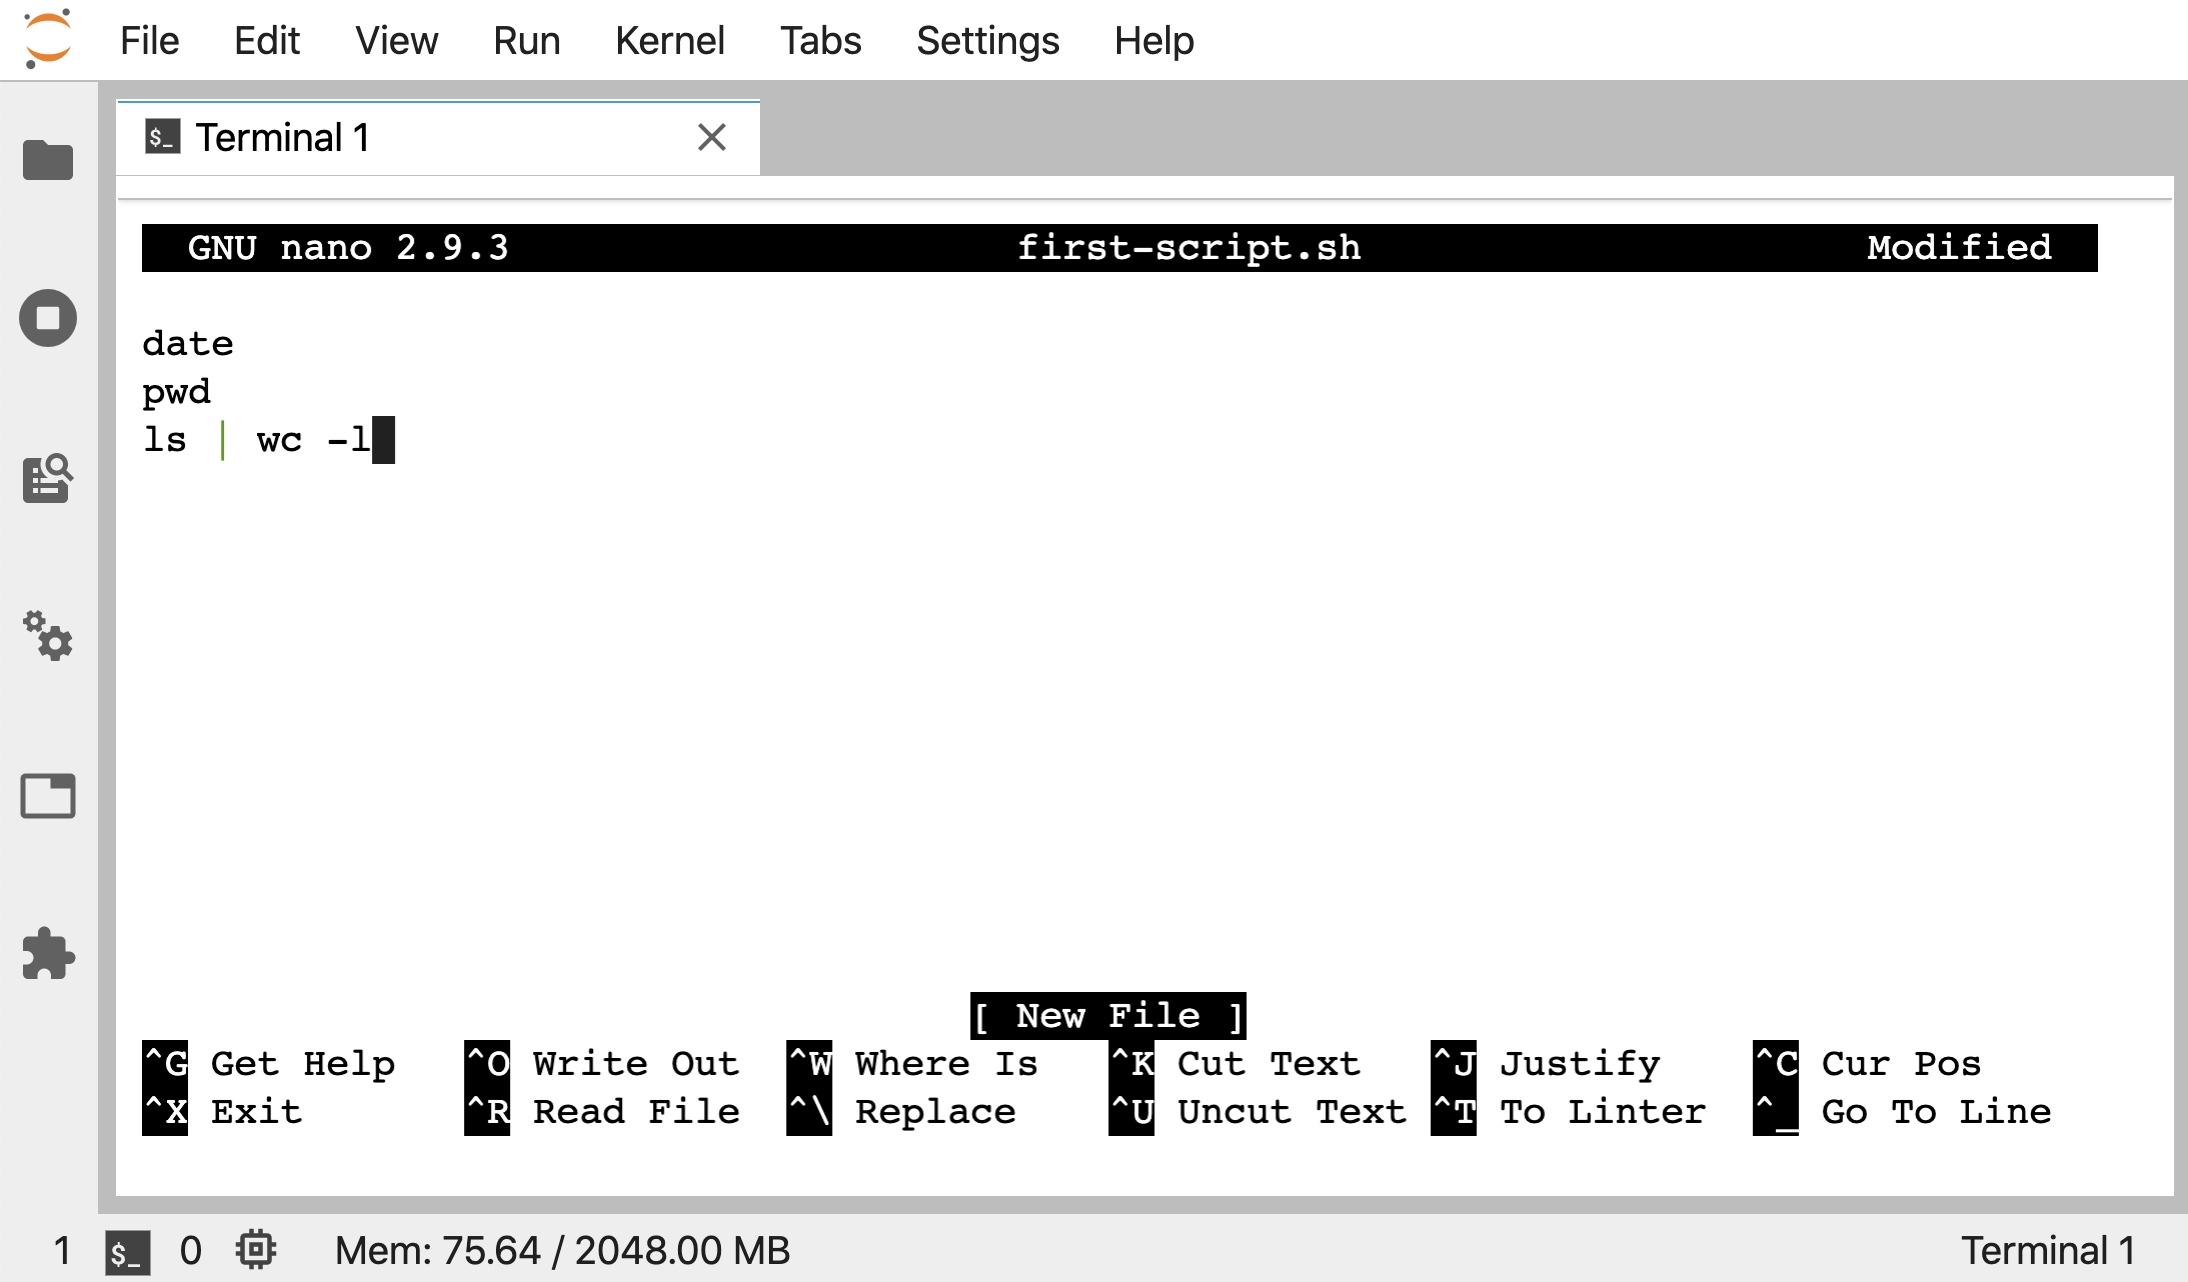
Add those 3 lines to the file in nano like above, and then we can press ctrl + x to begin to exit nano, it will ask us if we want to save, so press the y key for yes, then hit enter to keep the filename we gave it.
NOTE
We’re going to be doing quite a bit of opening and closingnanoon this page, so remember to look back up here if getting used to it still 🙂
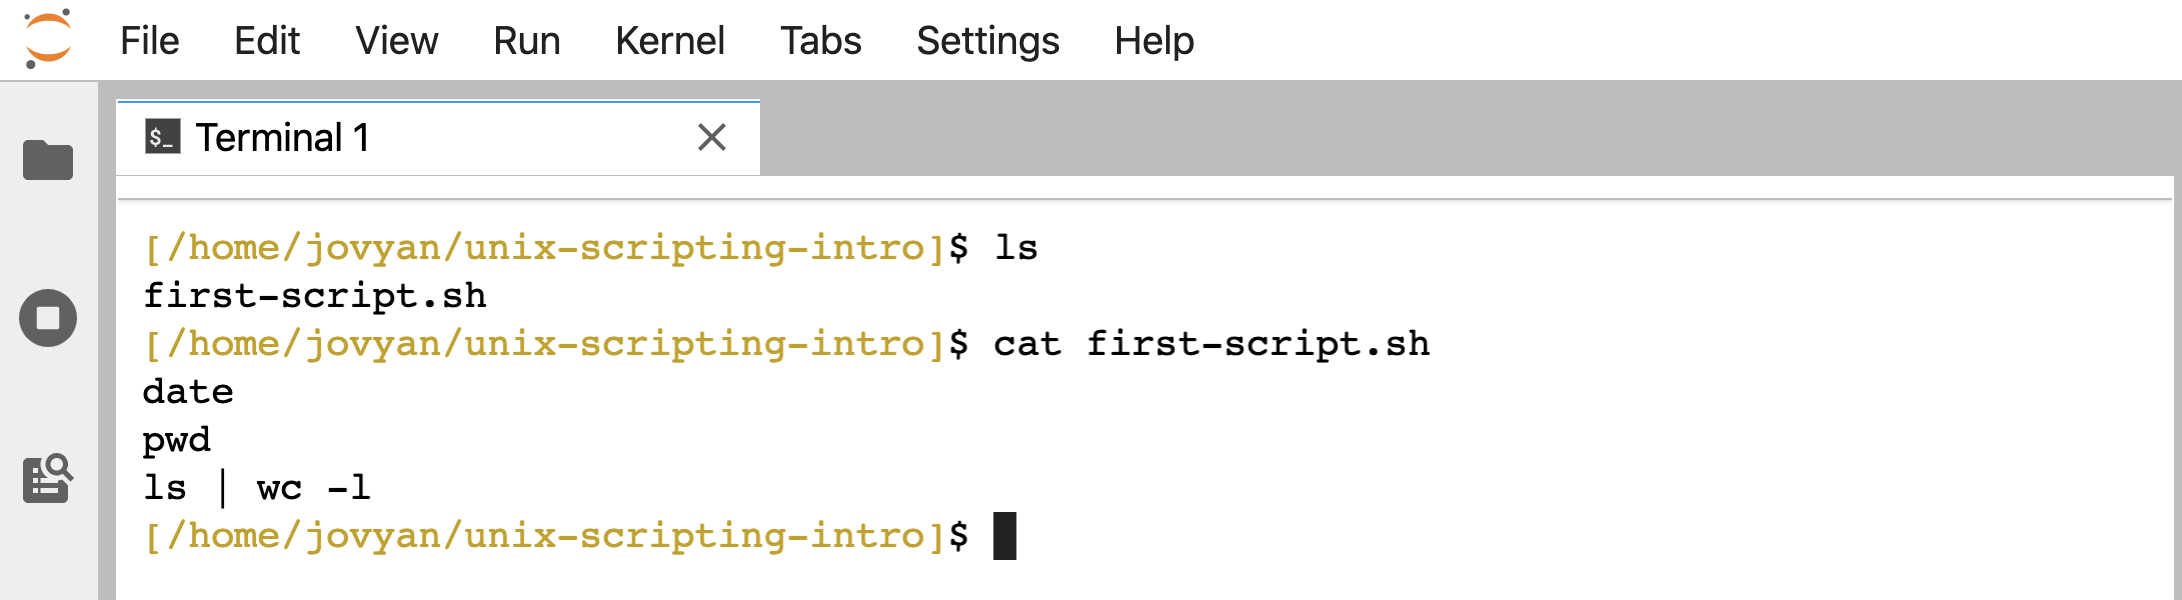
Now we have that file here holding this contents:
ls
cat first-script.sh
Just putting those 3 lines into a file, we can now run it as a script. One way we can run this script, is by giving bash as the command, and then the file holding the script as a positional argument:
bash first-script.sh
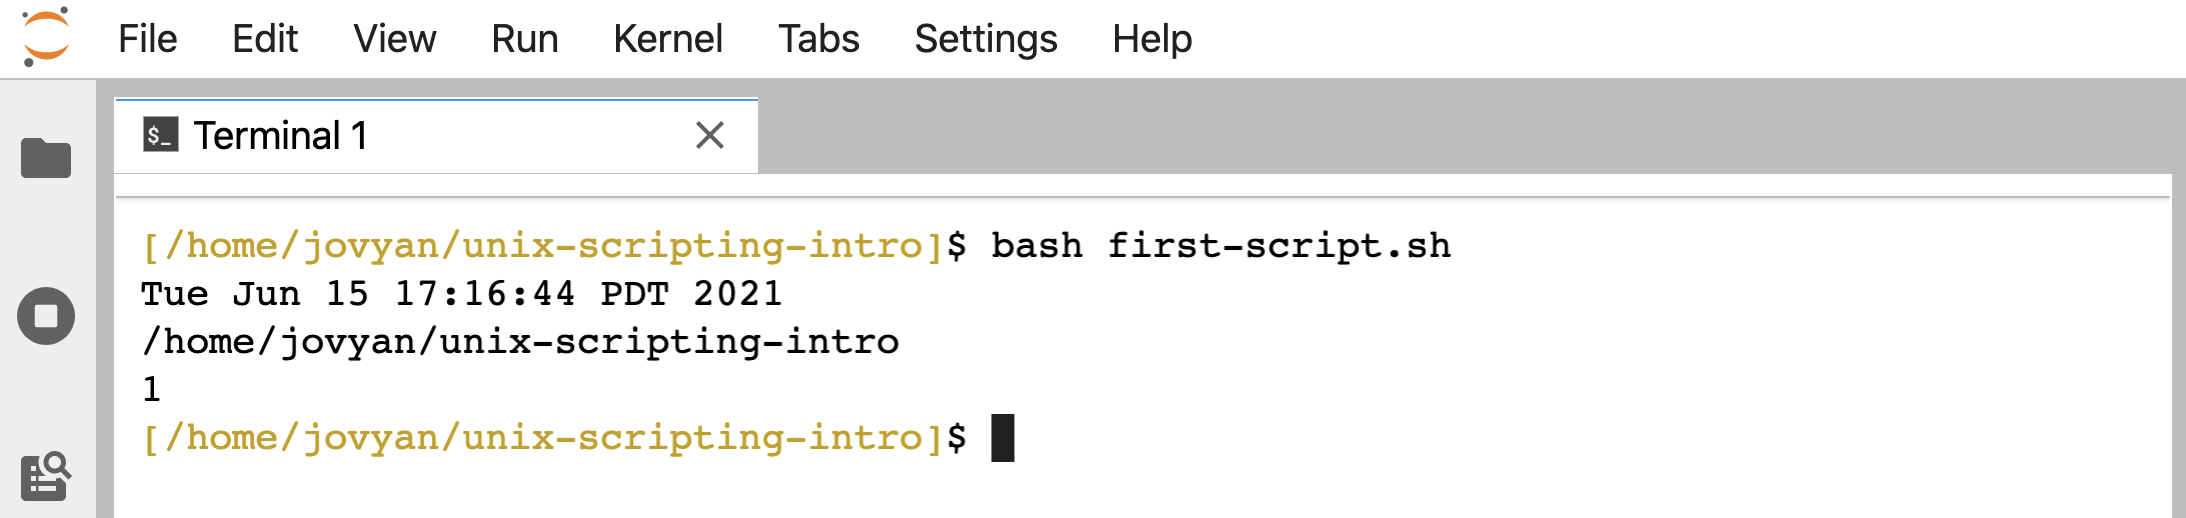
And that’s it! Notice it prints out to the terminal exactly the same way as if we ran those commands one at a time interactively like above 🙂
Scripting with positional arguments
Variables and loops are common components of scripts. These were introduced in part 5 of the Unix Crash Course, so we are going to build off of the examples used there.
First, let’s grab a couple of example files:
curl -L -o genes.faa https://ndownloader.figshare.com/files/28419393
curl -L -o gene_annotations.tsv https://ndownloader.figshare.com/files/28419390
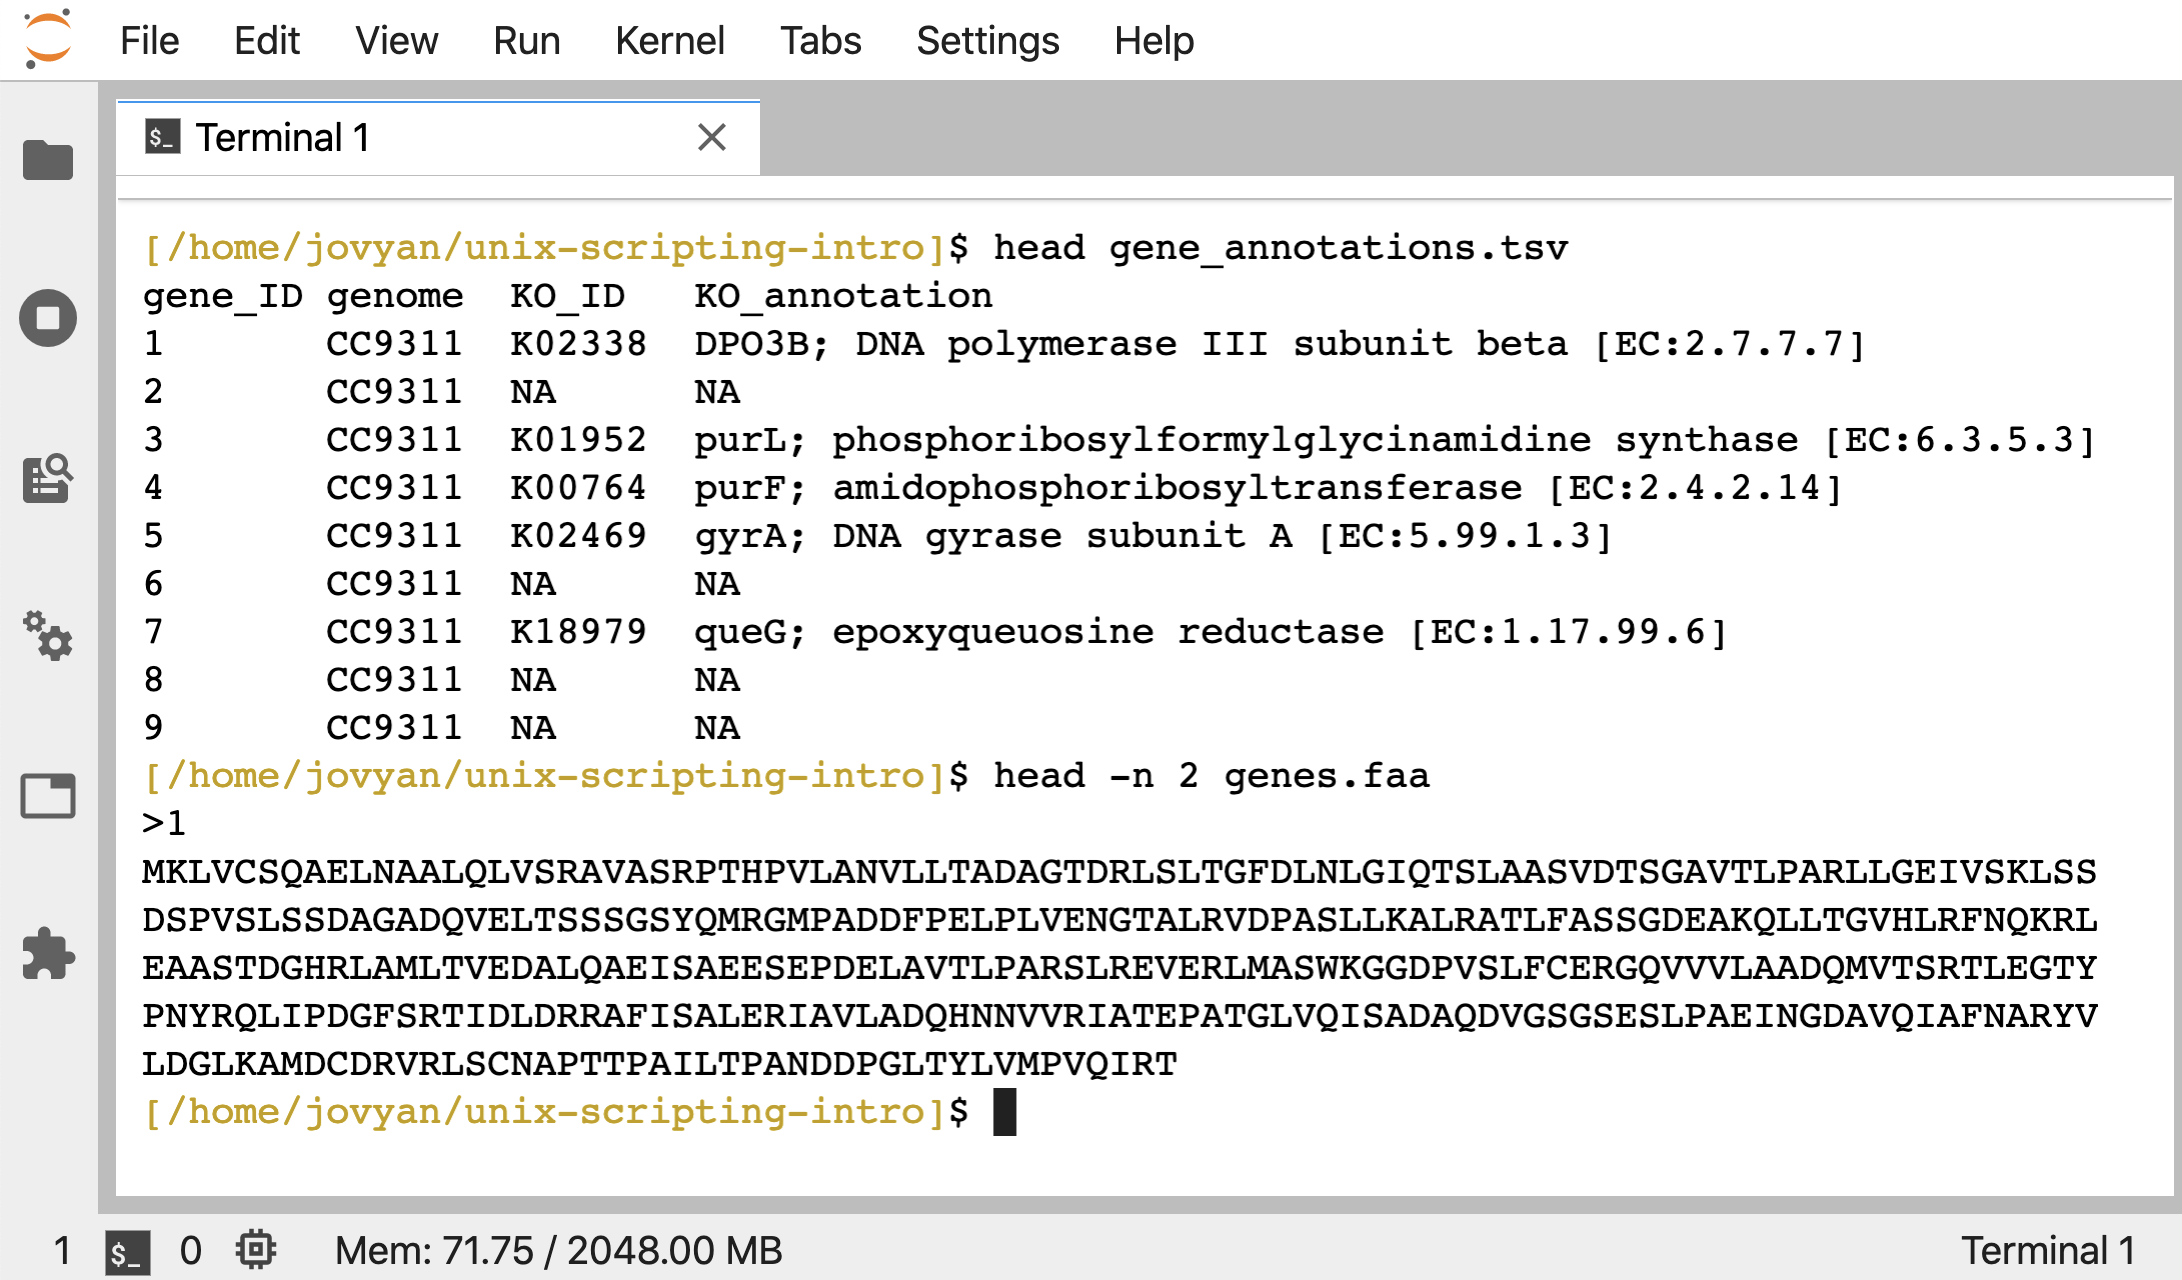
The gene_annotations.tsv file holds some information about 100 genes, and genes.faa holds their amino-acid sequences in fasta format:
head gene_annotations.tsv
head -n 2 genes.faa
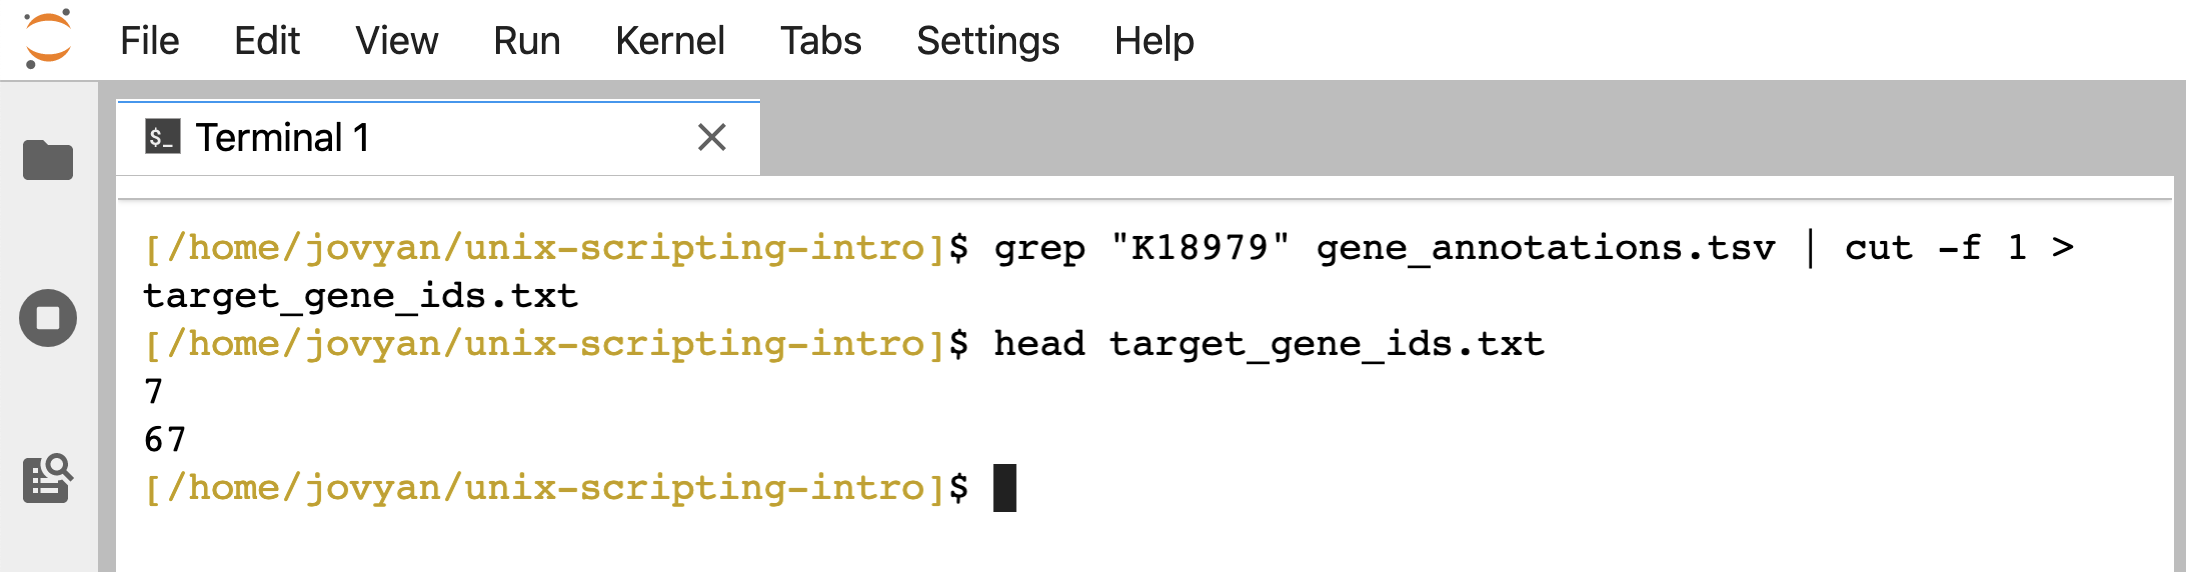
When working with these example files before, we were pretending to be interested in genes annotated as “K18979” from the KEGG Orthology database (which is how our example data are annotated). And we made a list of the gene_IDs annotated as this function by using grep and cut. Let’s do that again here:
grep "K18979" gene_annotations.tsv | cut -f 1 > target_gene_ids.txt
head target_gene_ids.txt
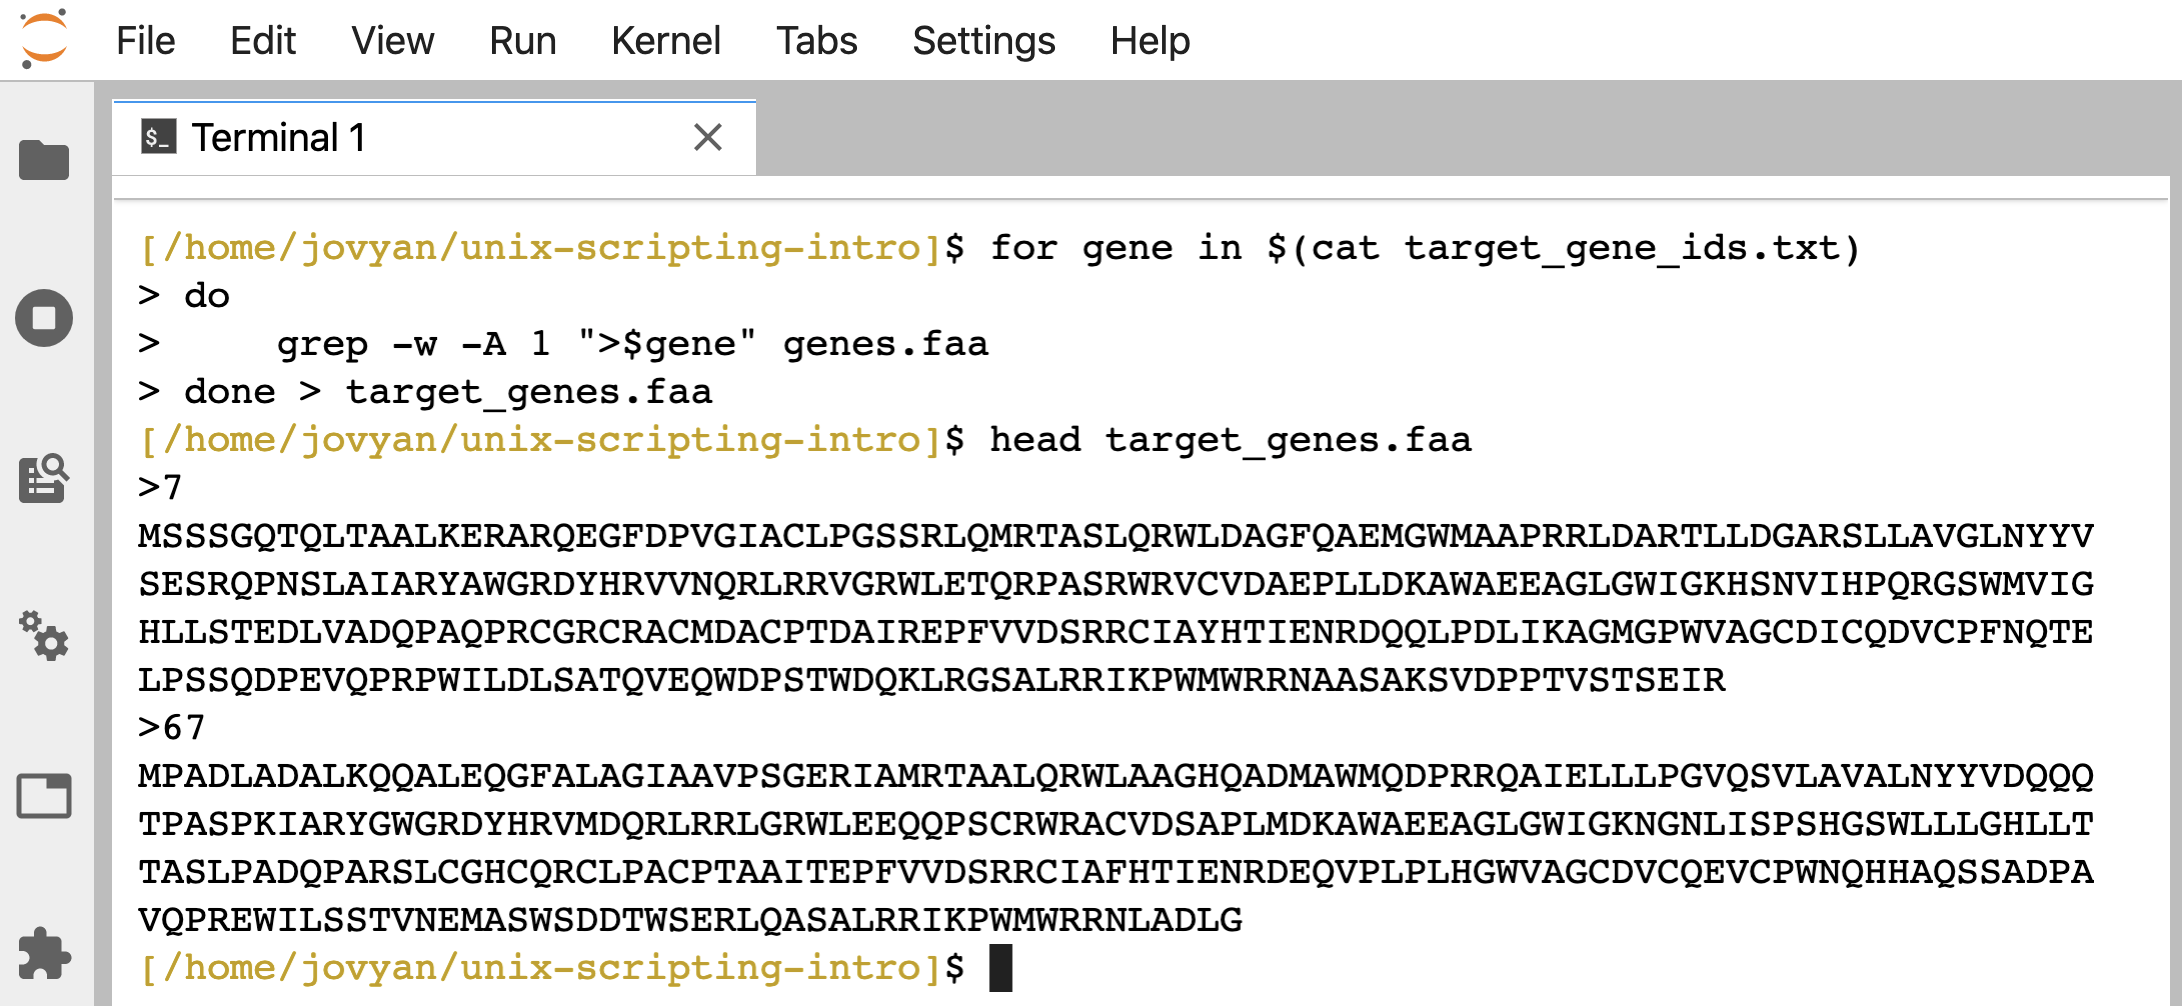
Then we wrote a for loop to pull and create a file that just held those sequences of interest:
for gene in $(cat target_gene_ids.txt)
do
    grep -w -A 1 ">$gene" genes.faa
done > target_genes.faa

head target_genes.faa
As we’ve seen, we can just copy and paste the above code block into a file, and then run it as a script, and it will work the same as when we entered it interactively. But we can also make the script more flexible and more re-usable if we make it work with positional arguments, rather than needing the file that holds the target genes to be “hard-coded” into the script. Meaning, right now we have “target_gene_ids.txt” in there explicitly, and if we want to change our target genes, we either need to open the script and change that file name at that location, or we need to change what gene IDs are in the “target_gene_ids.txt” file.
Inside a script, we can access positional arguments given to the script when it’s called by referencing them as variables with their appropriate position. If not familiar with this, it can sound way more confusing in words than actually just seeing it. So let’s just start doing it 🙂
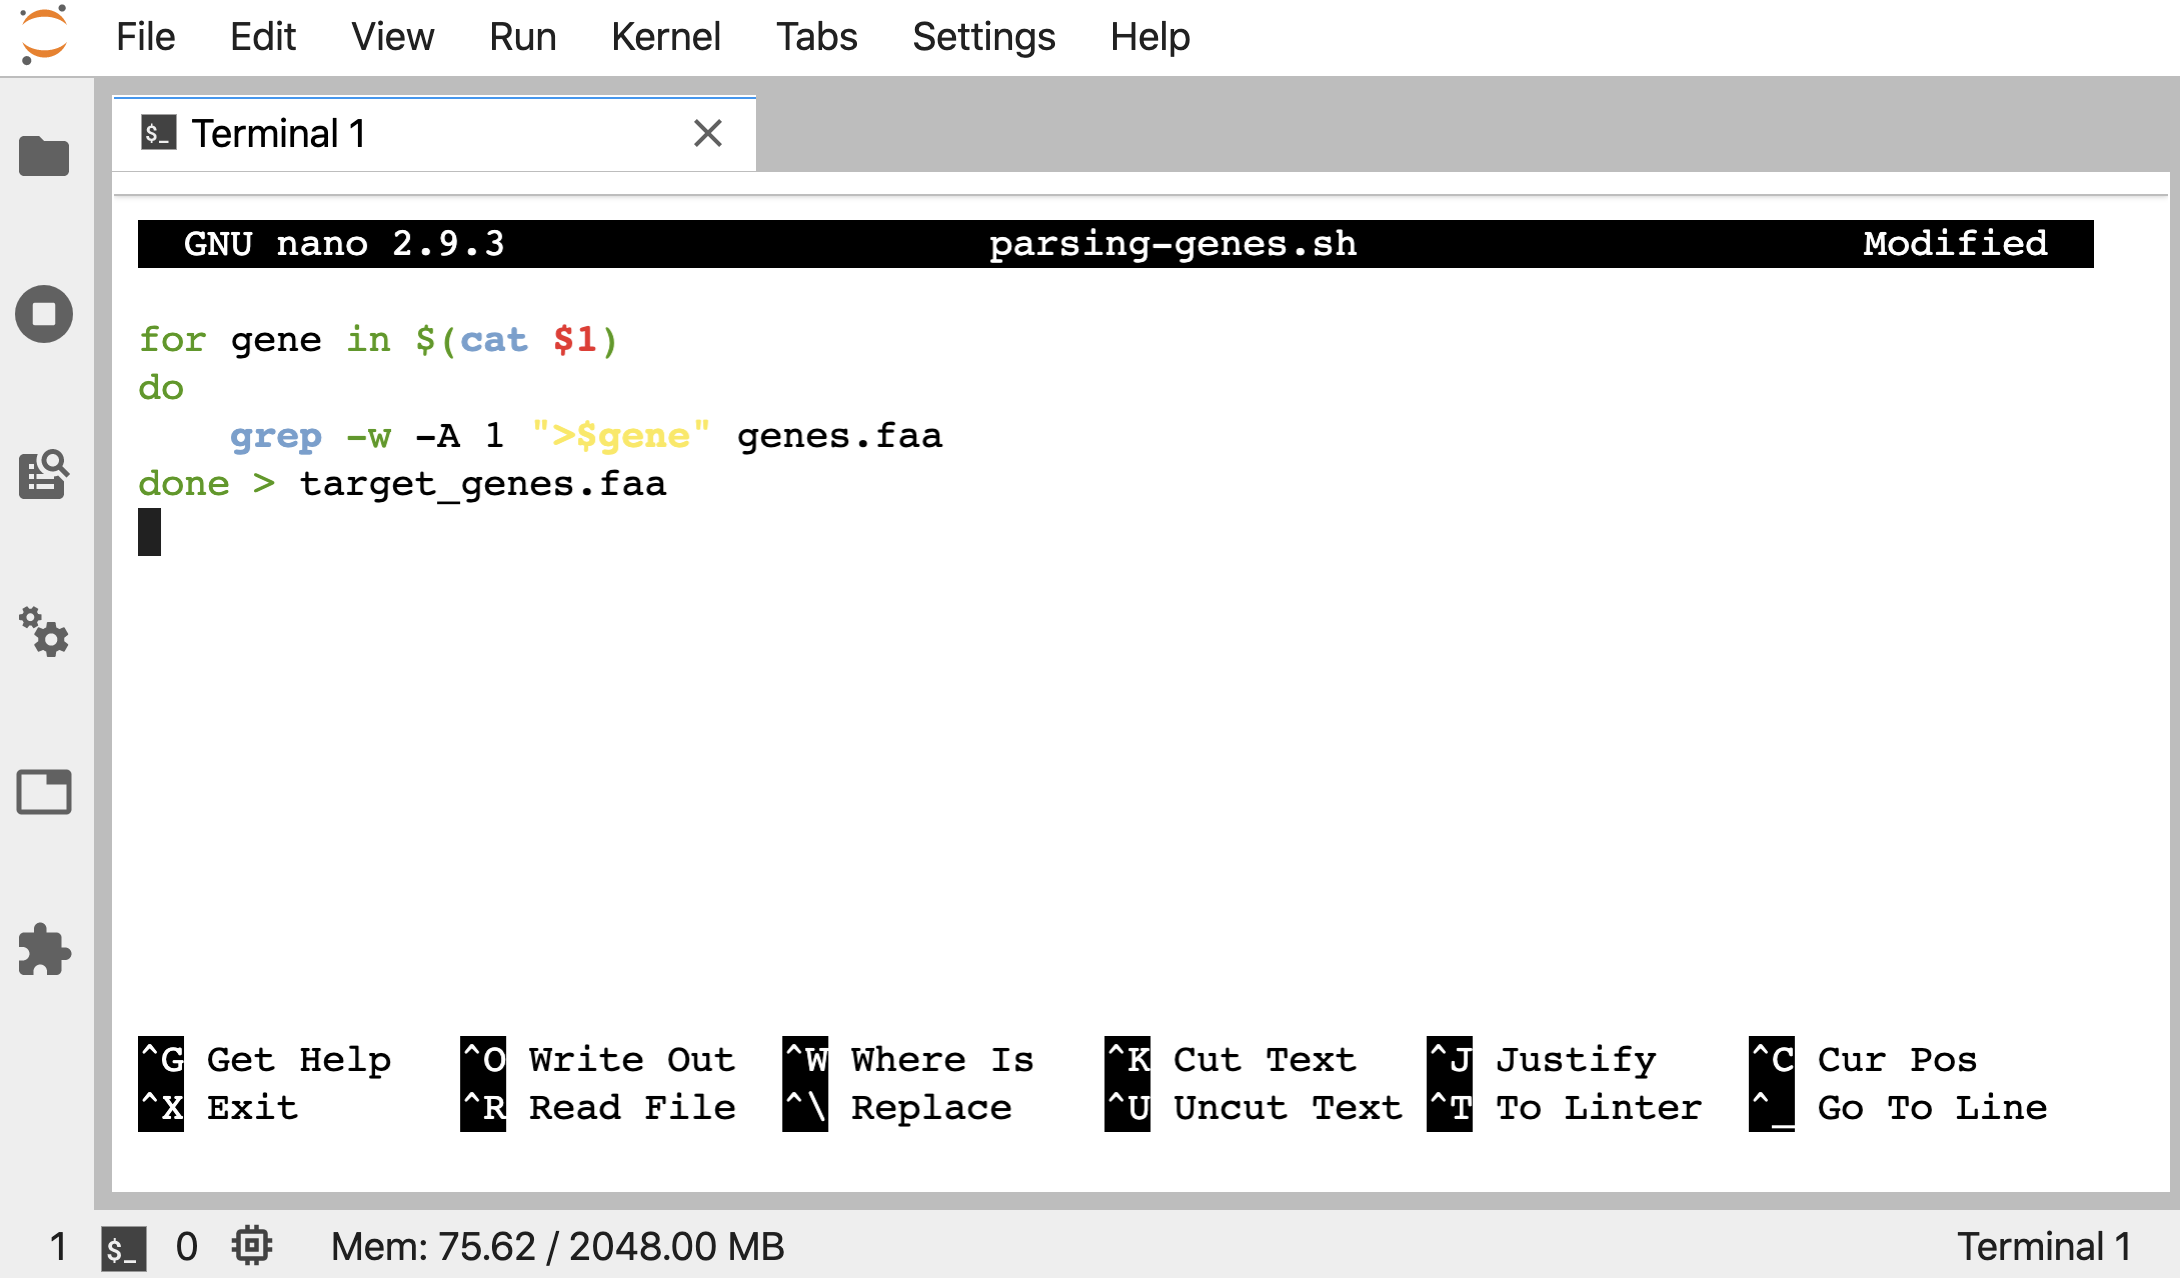
Let’s put this next codeblock into a new script called “parsing-genes.sh”, where instead of specifying the “target_gene_ids.txt” filename explicitly like before, we are putting a $1 in it’s place:
for gene in $(cat $1)
do
    grep -w -A 1 ">$gene" genes.faa
done > target_genes.faa
That $1 in the script will reference the first positional argument we give when we run the script. To see this in practice, first let’s remove the target_genes.faa output we are expecting:
rm target_genes.faa
And here’s how we can run it giving our “target_gene_ids.txt” file as the positional argument:
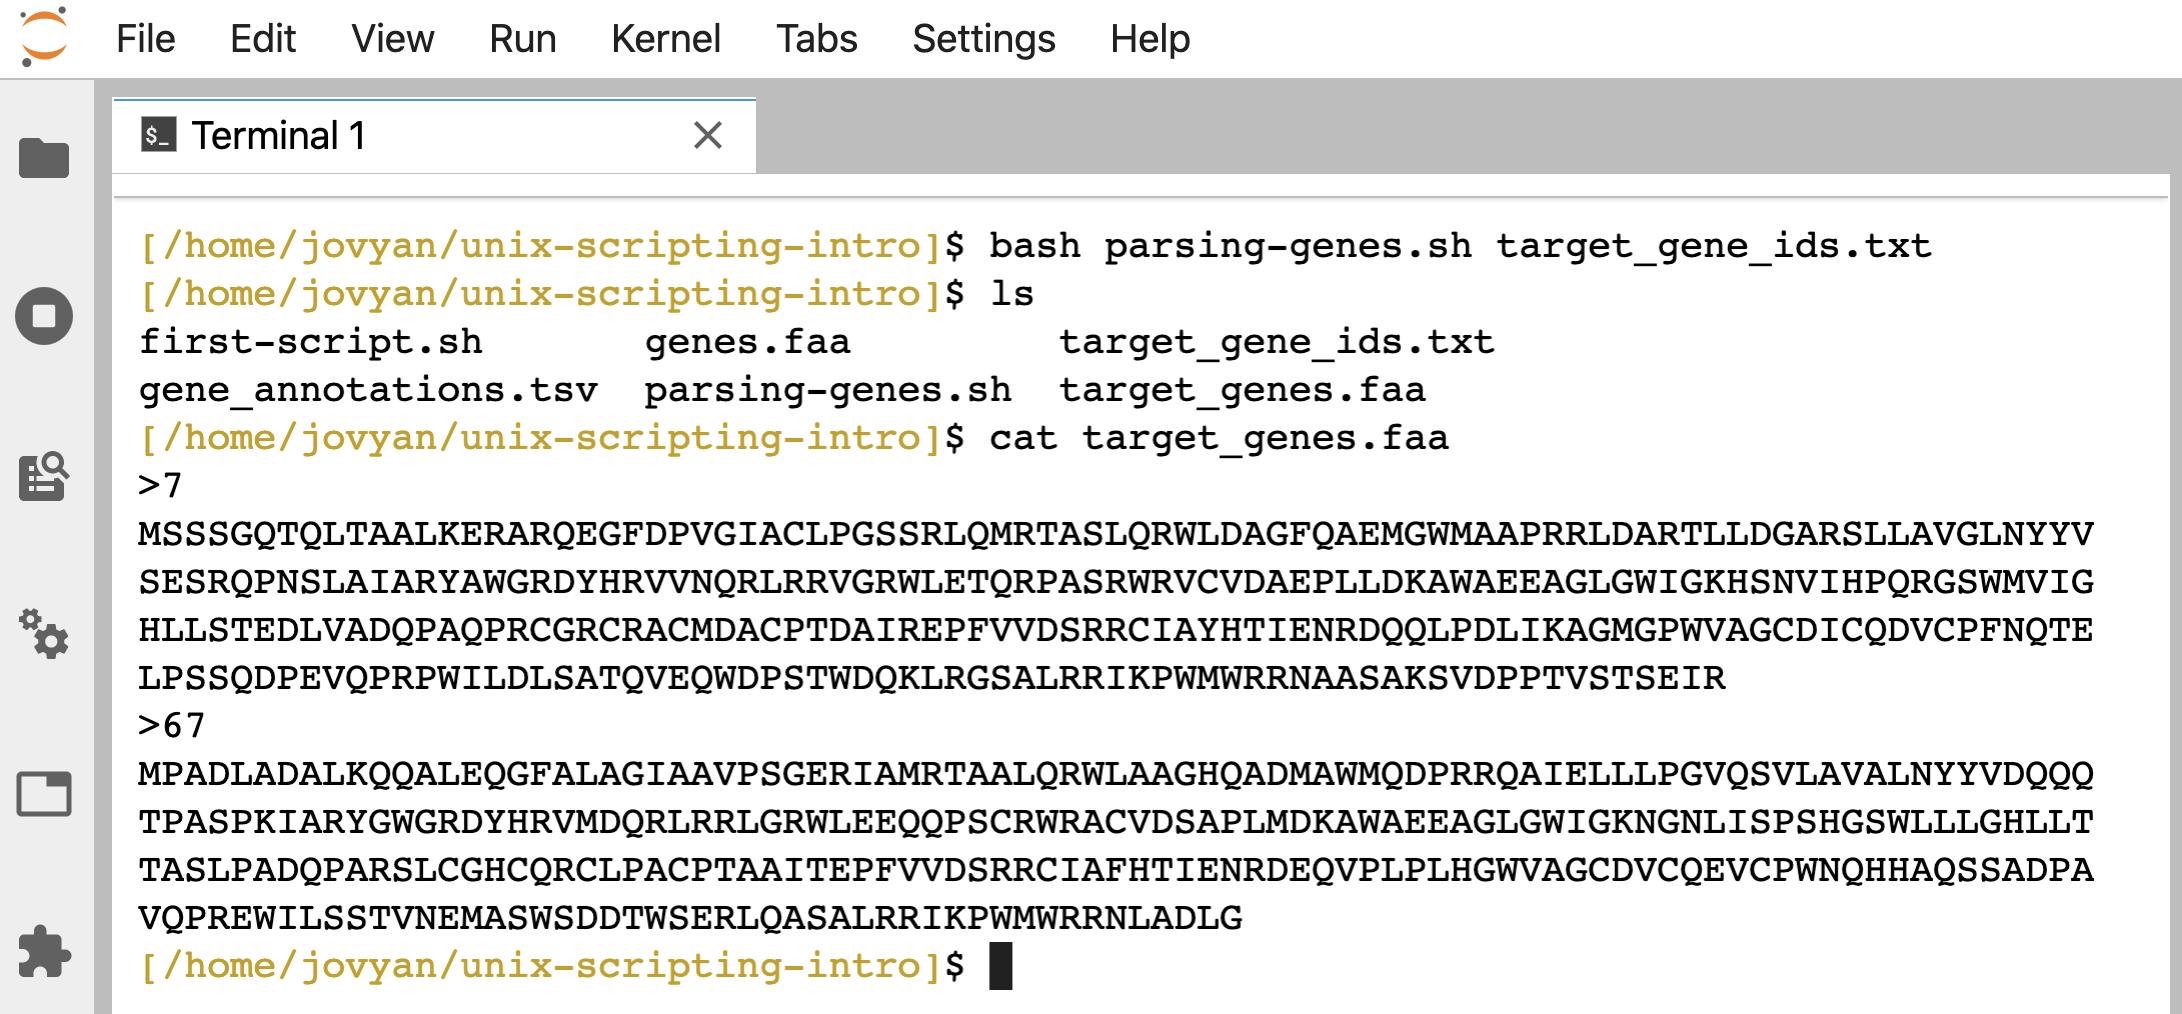
bash parsing-genes.sh target_gene_ids.txt
Nothing prints to the screen, but if we check, the “target_genes.faa” file holding our two genes of interest has been produced just like before:
NOTE
There is not much inherently built-in to shell scripting like this that prevents problems. For instance, if we try to run this without providing a positional argument, it will just hang there (same as if we rancatby itself with no positional argument telling it what file to act on – because that’s exactly what’s happening inside the script if we don’t give it a positional argument). We can cancel that withctrl + c, but just keep in mind that if something will fail interactively, it will probably fail within the script in the same way. We’ll point to some things we can do to help a little with cases like this below in the Bash “strict mode” section.
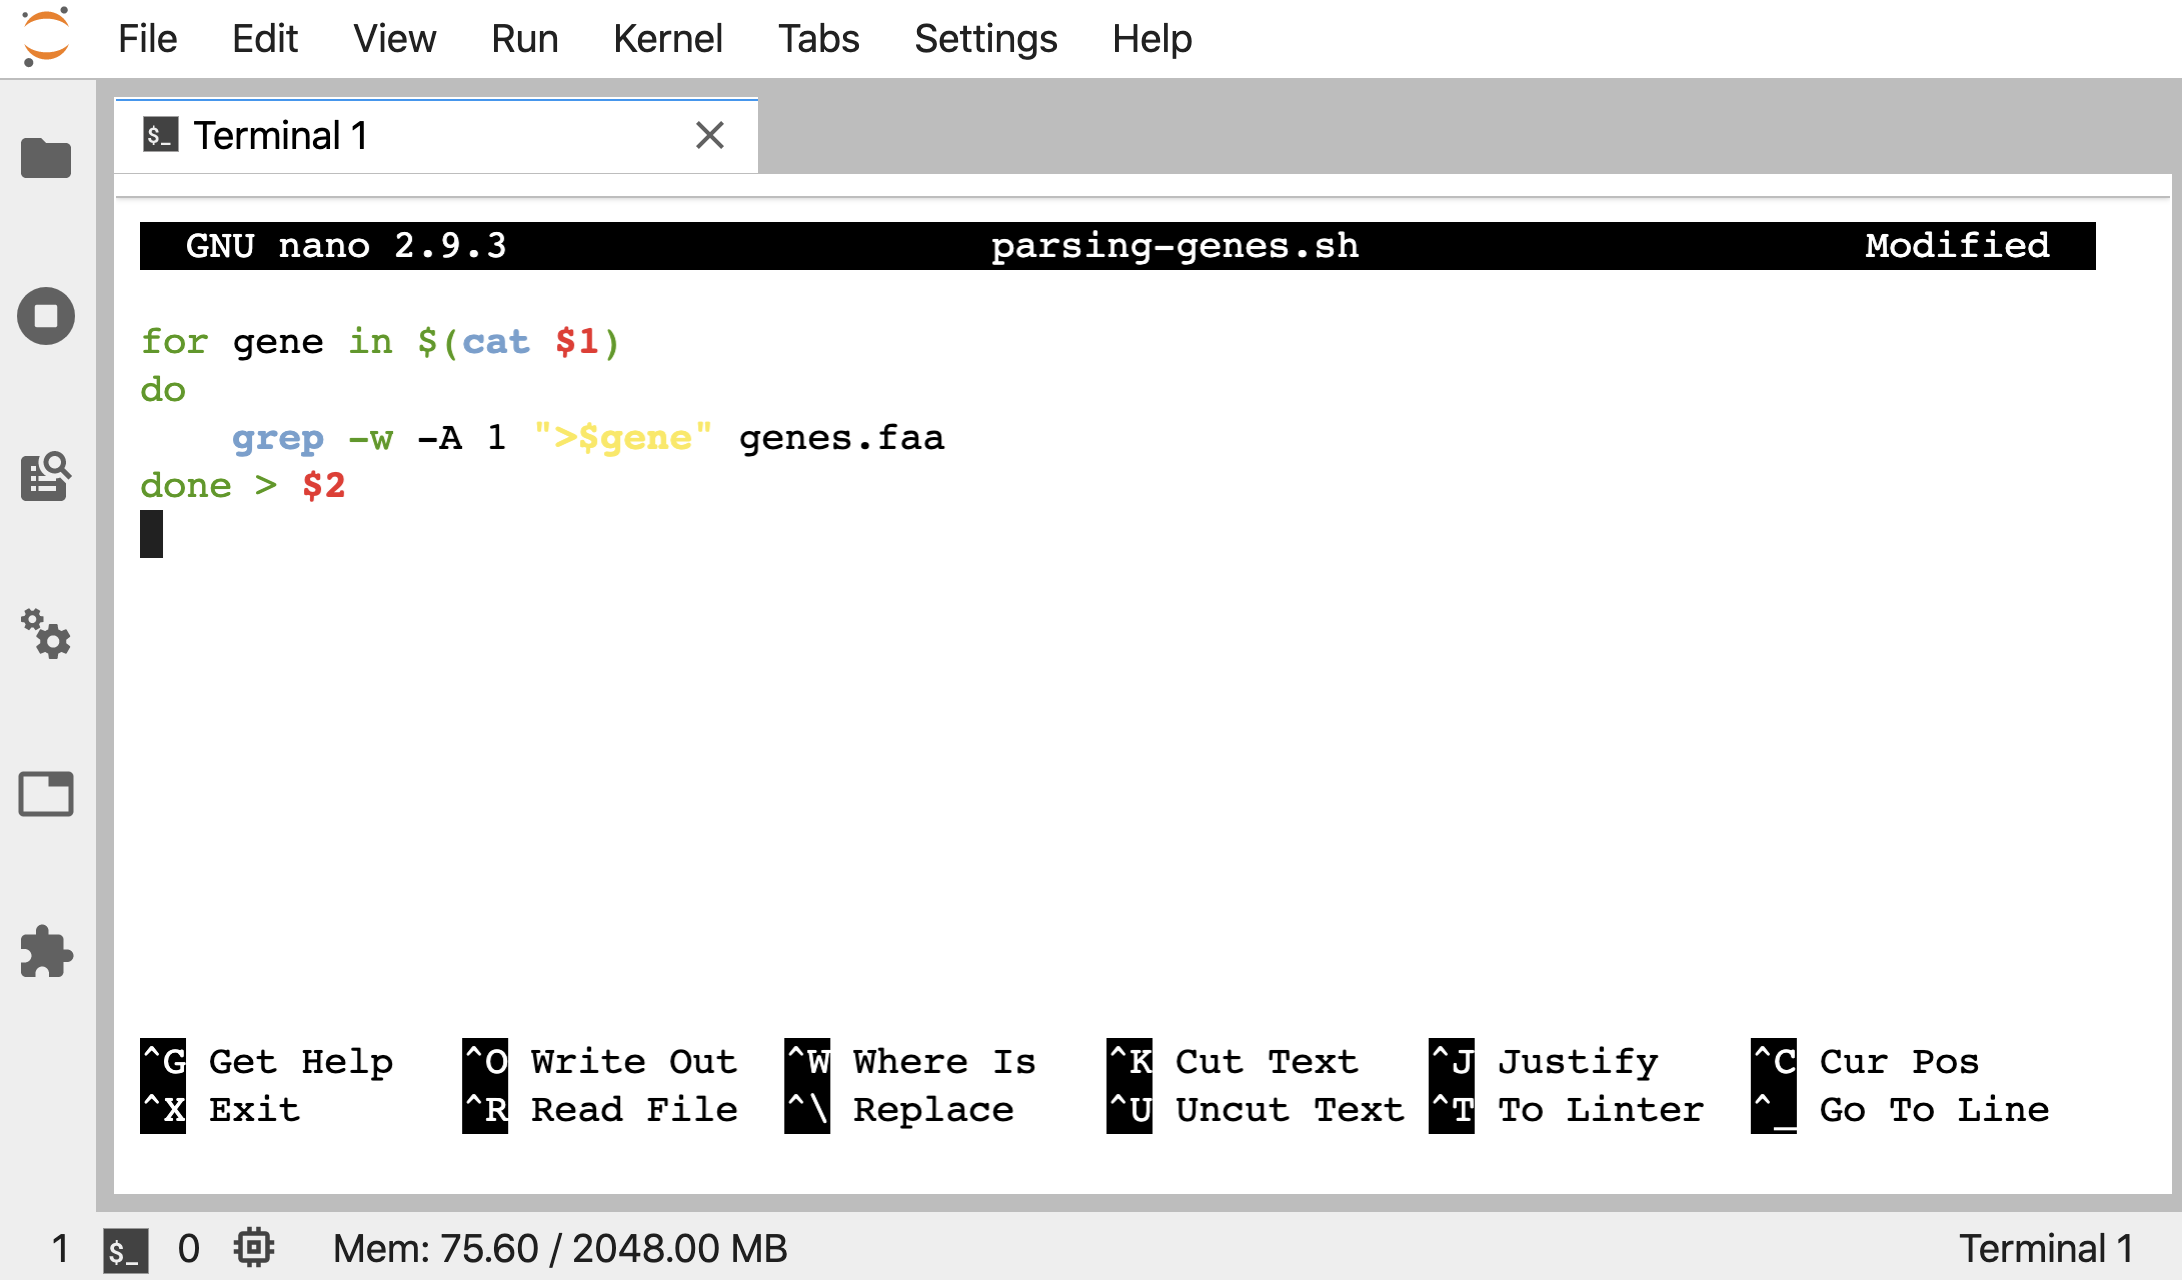
Say we also wanted to be able to name the output file when we use the script, rather than opening it and changing it each time. We could make that a positional argument too. Let’s open up nano and change our “parsing-genes.sh” script again to this now, where a $2 replaces where we are redirecting the output from the loop:
for gene in $(cat $1)
do
    grep -w -A 1 ">$gene" genes.faa
done > $2
nano parsing-genes.sh
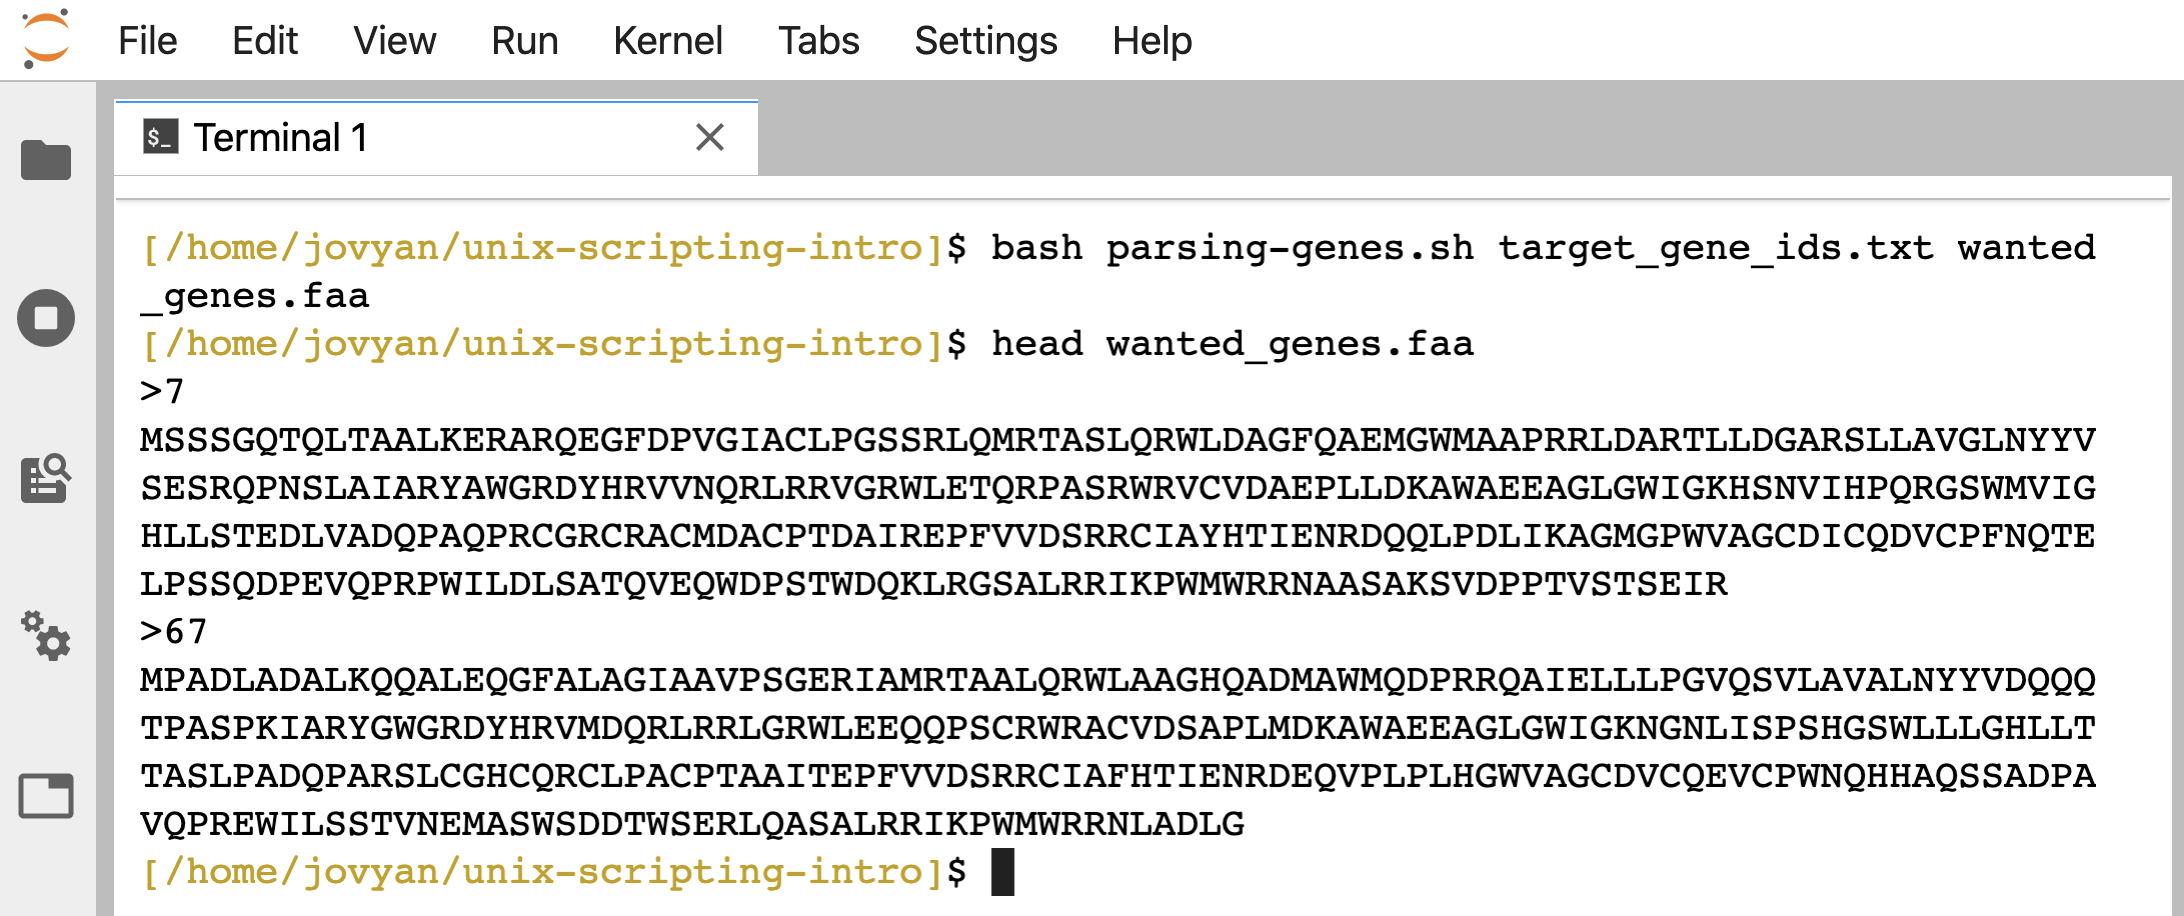
Now we can specify the file holding the gene IDs we want to search for with the first positional argument we specify after bash parsing-genes.sh) and the new output fasta file we want to create with the second positional argument:
bash parsing-genes.sh target_gene_ids.txt wanted_genes.faa
head wanted_genes.faa
Let’s modify this a bit further, and make it so we can just specify which KO annotation we want to search for, and the script will do the rest!
To do this, we are going to need to do two things:
- add in our
grepandcutline from above that created the “target_gene_ids.txt” file based on searching for the wanted KO annotation in the “gene_annotations.tsv” - name some files with variables inside the script
We’ll also add some comments that help explain what certain parts of our script are doing. Lines that are preceded by a lone # are ignored when the program is run, so we can add in text with those that help others (and us in the future) be able to more easily understand what our code is trying to do.
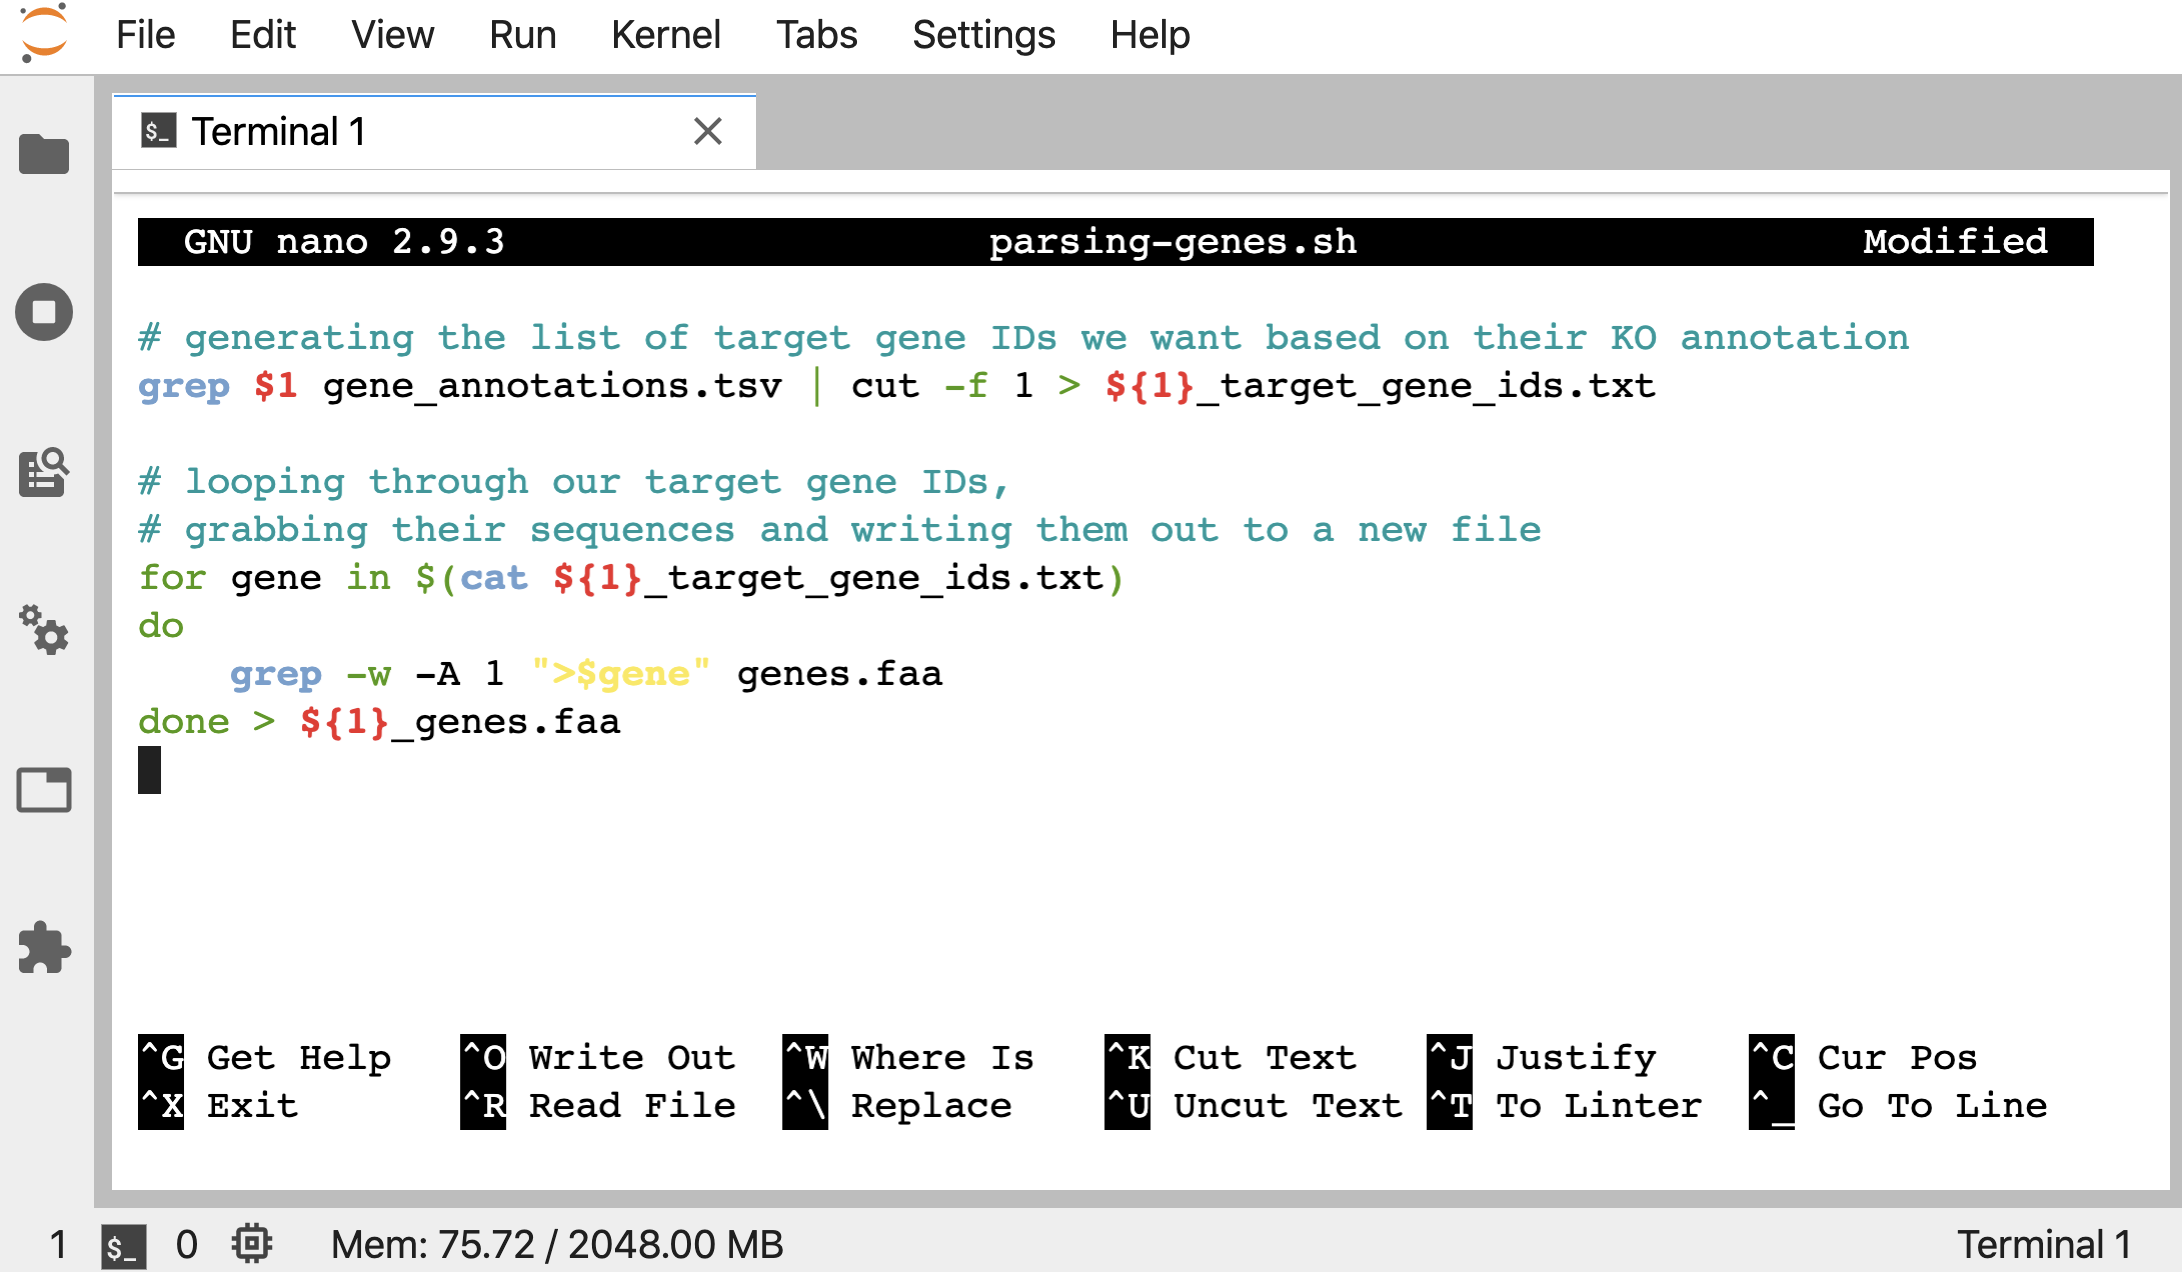
So here’s what we want in our “parsing-genes.sh” script now:
# generating the list of target gene IDs we want based on their KO annotation
grep $1 gene_annotations.tsv | cut -f 1 > ${1}_target_gene_ids.txt

# looping through our target gene IDs,
# grabbing their sequences and writing them out to a new file
for gene in $(cat ${1}_target_gene_ids.txt)
do
    grep -w -A 1 ">$gene" genes.faa
done > ${1}_genes.faa
Notice we added in braces surrounding our variables in places where they were attached to more characters, like ${1}_target_gene_ids.txt. This is because if we didn’t do that, the $ would be trying to find a variable with all of the characters that follow (well, up to something like the period at least), and we don’t want to look for a variable called “1_target_gene_ids”, we just want to use the “1”. So we use the braces {} to block out the part the $ is supposed to be working with.
nano parsing-genes.sh
To download current version if wanted:
curl -L -o parsing-genes.sh https://ndownloader.figshare.com/files/28459368
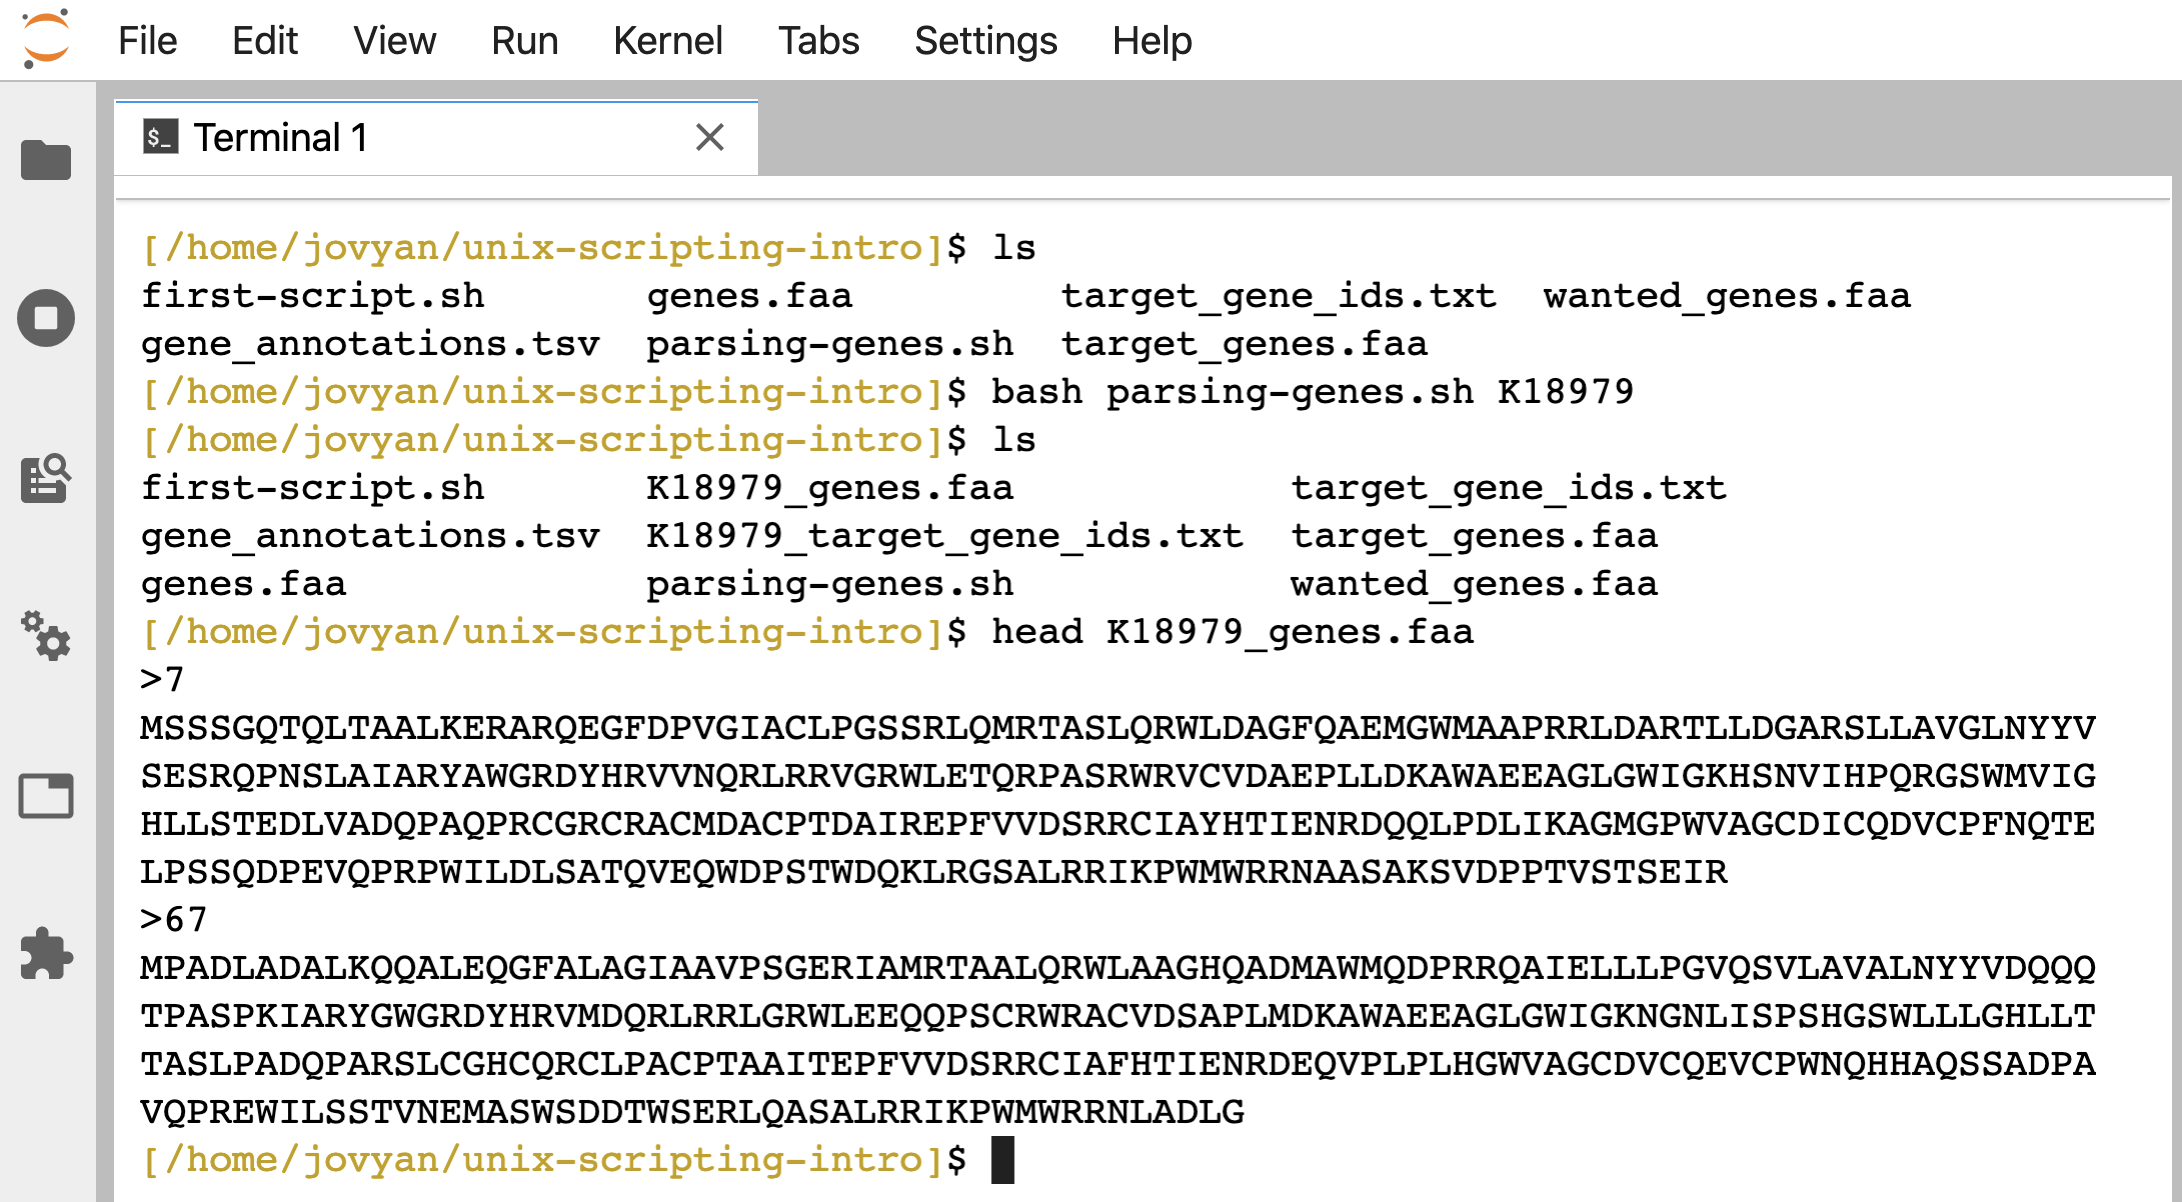
And now, we can provide just the KO ID we want to look for as a positional argument:
ls
bash parsing-genes.sh K18979
ls
head K18979_genes.faa
We can see it created 2 new files, “K18979_target_gene_ids.txt” and “K18979_genes.faa”, based on the positional argument we gave it:
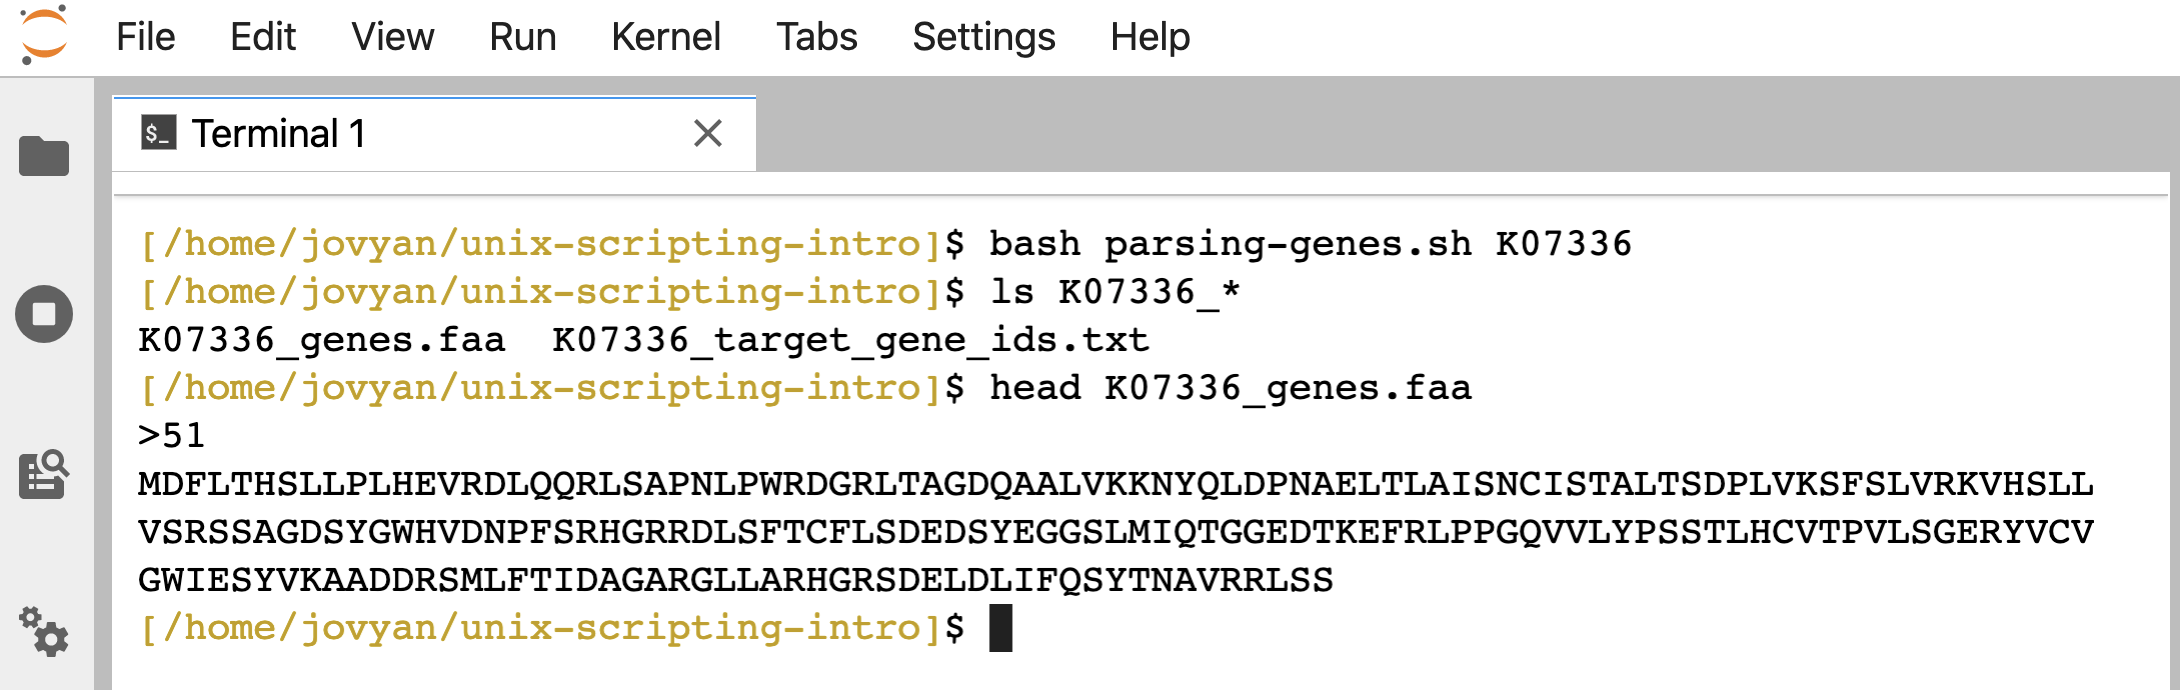
So now we can use our script to search for other KO terms too, e.g., running:
bash parsing-genes.sh K07336
ls K07336_*
head K07336_genes.faa
Creates 2 new files based on that KO ID:
If/then conditional
We have very few guard-rails on here to prevent weird things from happening. How much we care about that sort of thing entirely depends on how robust we want or need our little script to be. Unless we are developers (in which case you probably shouldn’t be learning anything from here 😬), we are usually writing something to do a very specific task to help with processing or analysis that we are going to be using directly ourselves. In that case we may not need to spend any time on making a script more robust, so long as it gets our job done properly. Even for scripts like that that I write, I’ll usually put in some print statements or a check here and there that might help me when I’m using it.
Right now, if we search for something that doesn’t exist, the script will still finish and create two blank files:
bash parsing-genes.sh europa
ls -l europa*

First, let’s add a check that the target KO ID we are looking for was actually found. There are many ways we could go about this. Here, we’ll just check that the file we create from the first searching line actually has something in it, because if it’s empty, nothing was found.
If/then statements at a Unix-like command-line at a basic level can look something like this:
if [ # something-to-be-evaluated # ]
then
    # do something if true #
else
    # do something else if false #
fi
The fi at the end is needed to close the if statement overall, similar to how we need to put done at the end of a for loop.
We can check if there is anything inside a file with [ -s filename ]. (I usually forget and need to google that whenever I have a situation where I want to do it). Let’s look at this altogether interactively on the command-line first. Remember we just generated empty files by searching for something that wouldn’t be found in the file, let’s run it again just to be sure we have the empty files in case we deleted them already:
bash parsing-genes.sh europa
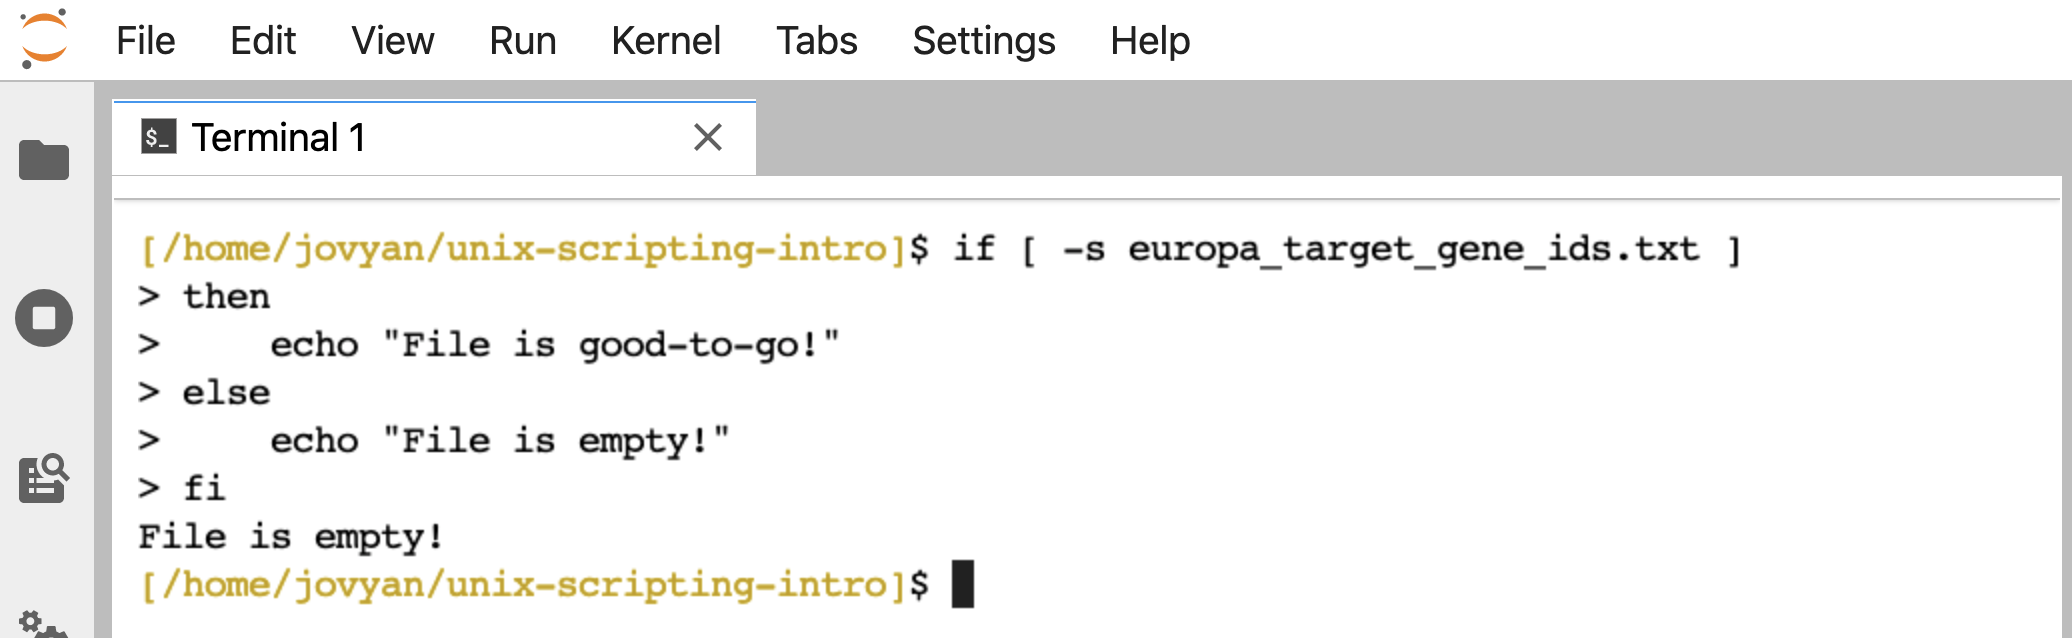
Here’s an example of how our if/then statement checking for file contents works (re-type, or copy and paste this code block into the command line):
if [ -s europa_target_gene_ids.txt ]
then
    echo "File is good-to-go!"
else
    echo "File is empty!"
fi
When we run that, the terminal prints back “File is empty!”:
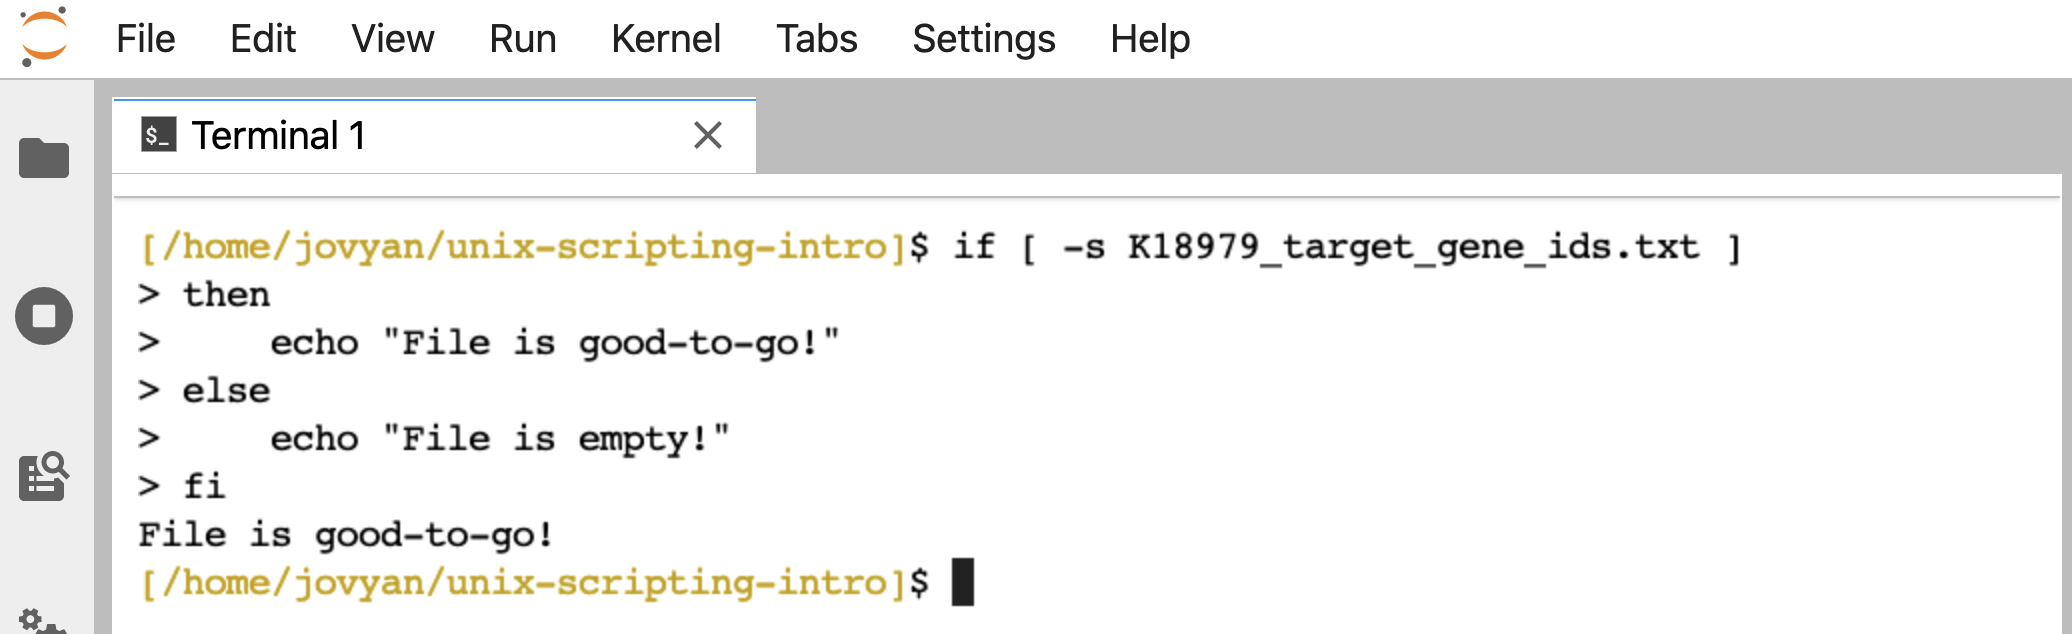
If we run it on a file that holds something, like “K18979_target_gene_ids.txt” that we generated earlier, it prints back “File is good-to-go!”:
if [ -s K18979_target_gene_ids.txt ]
then
    echo "File is good-to-go!"
else
    echo "File is empty!"
fi
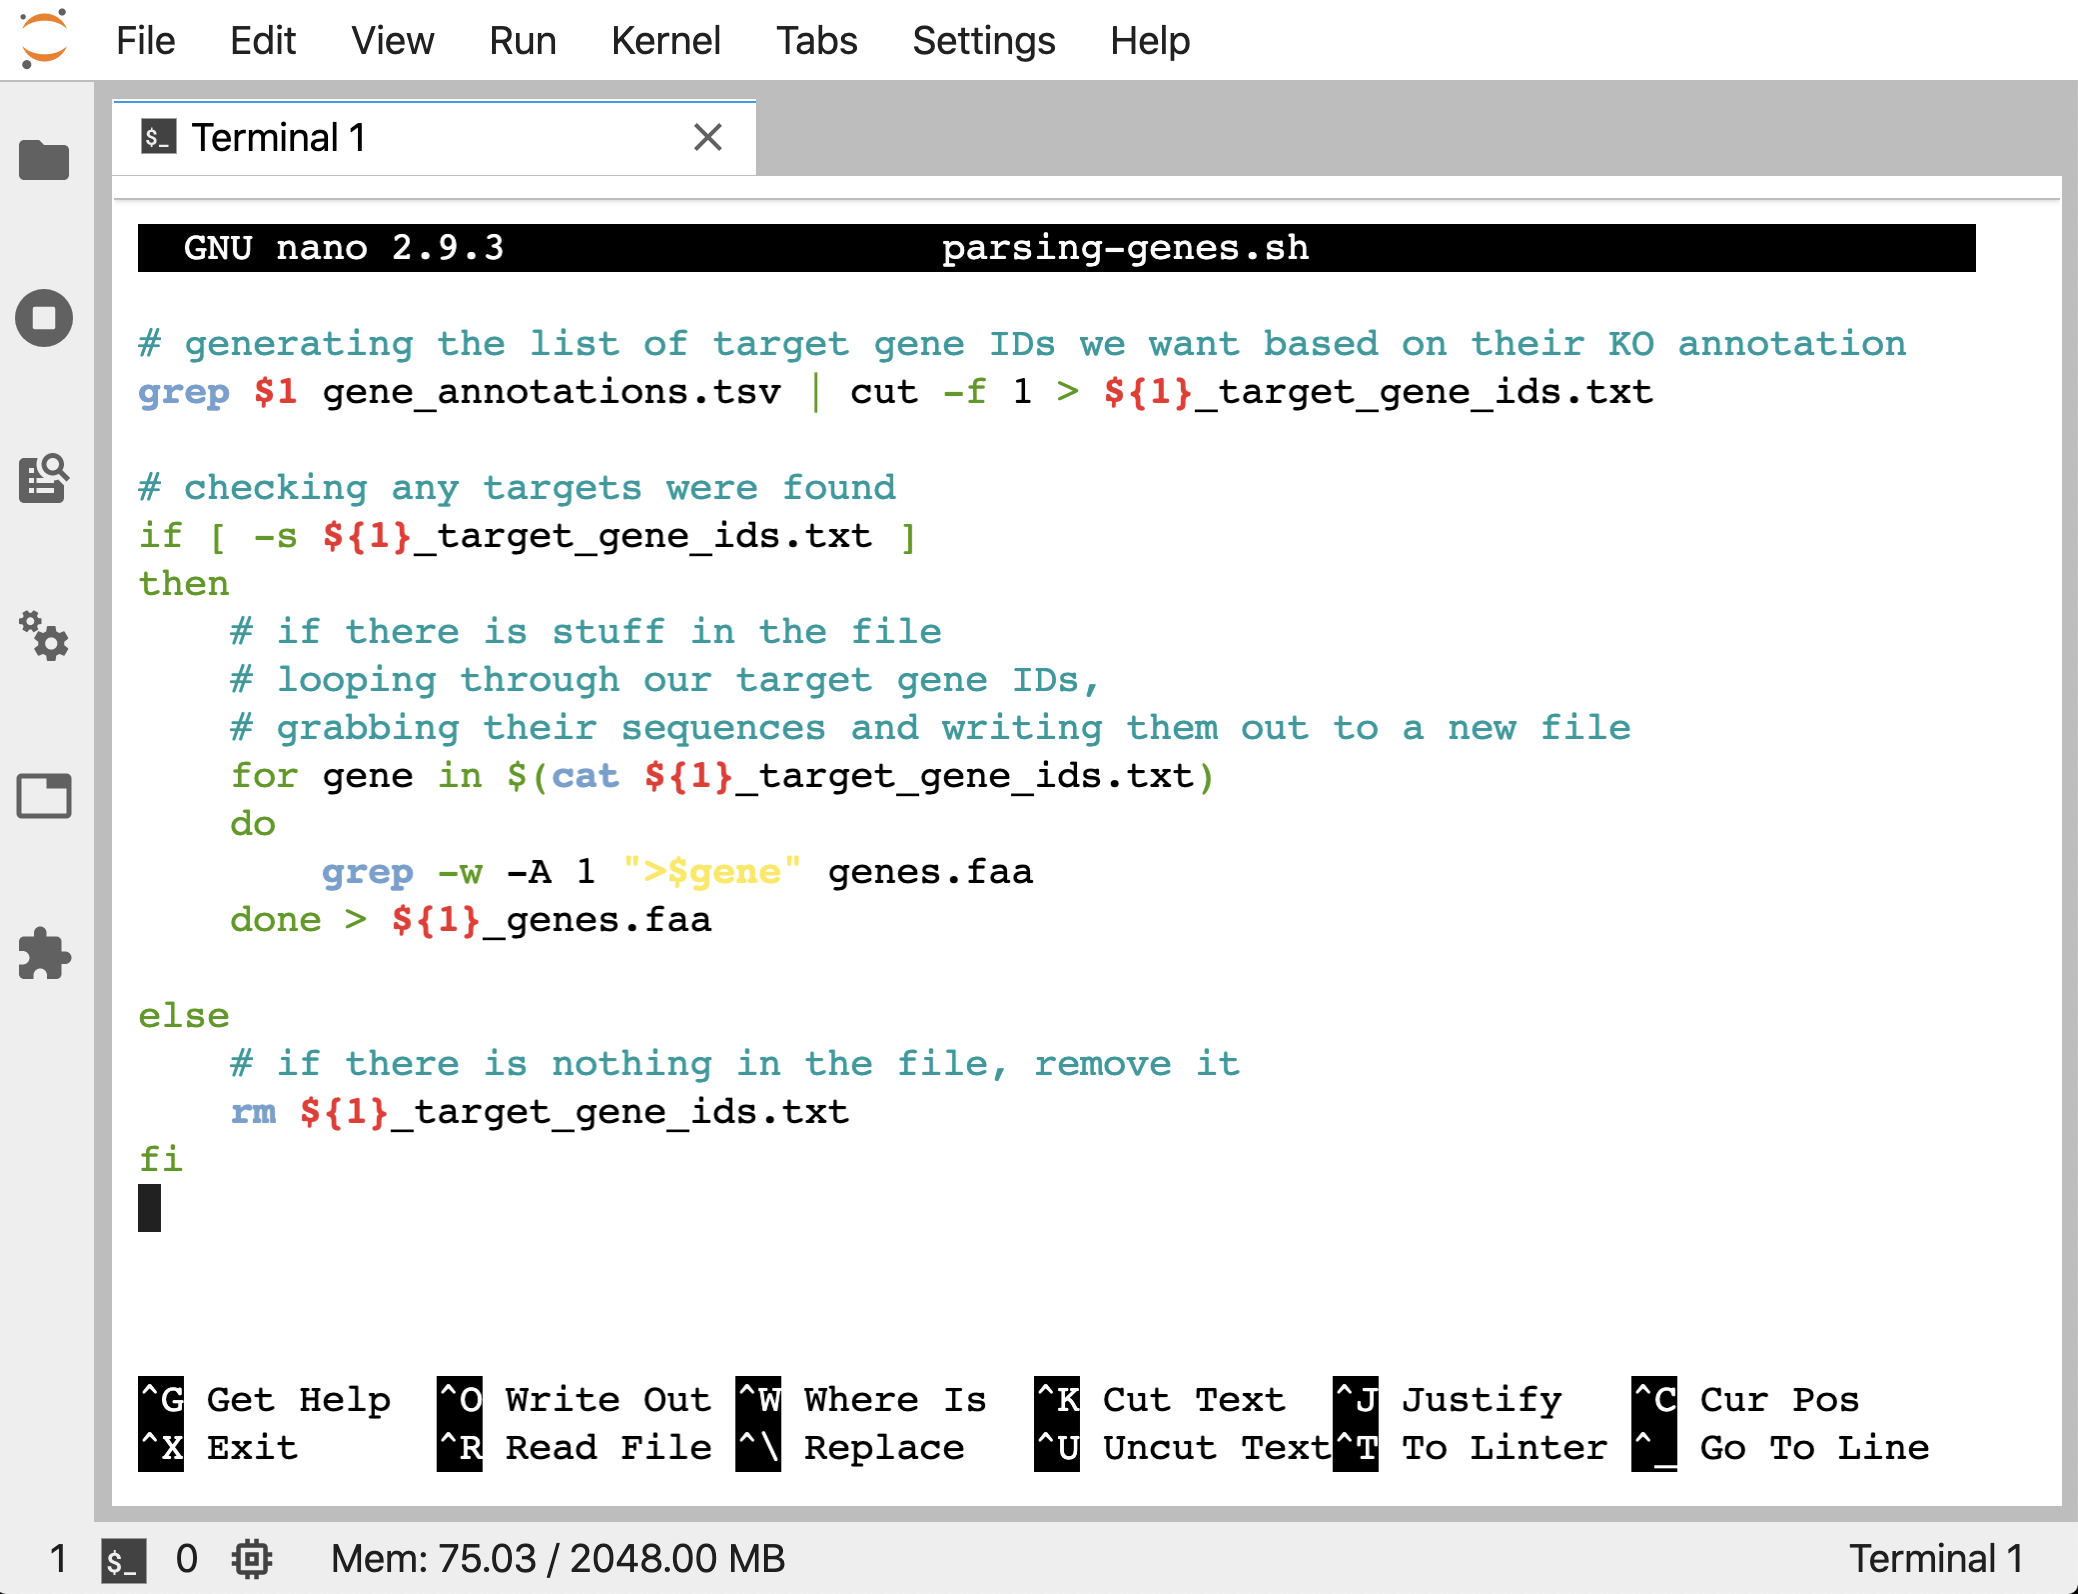
So we’ll add an if/then statment to control part of our script. If the target_gene_ids file holds targets, we will run the for loop that pulls out the wanted sequences into a new file. If it doesn’t, we will just remove the empty file. Here’s what this looks like:
# generating the list of target gene IDs we want based on their KO annotation
grep $1 gene_annotations.tsv | cut -f 1 > ${1}_target_gene_ids.txt

# checking any targets were found
if [ -s ${1}_target_gene_ids.txt ]
then
    # if there is stuff in the file
    # looping through our target gene IDs,
    # grabbing their sequences and writing them out to a new file
    for gene in $(cat ${1}_target_gene_ids.txt)
    do
        grep -w -A 1 ">$gene" genes.faa
    done > ${1}_genes.faa

else
    # if there is nothing in the file, remove it
    rm ${1}_target_gene_ids.txt
fi
nano parsing-genes.sh
To download current version if wanted:
curl -L -o parsing-genes.sh https://ndownloader.figshare.com/files/28464120
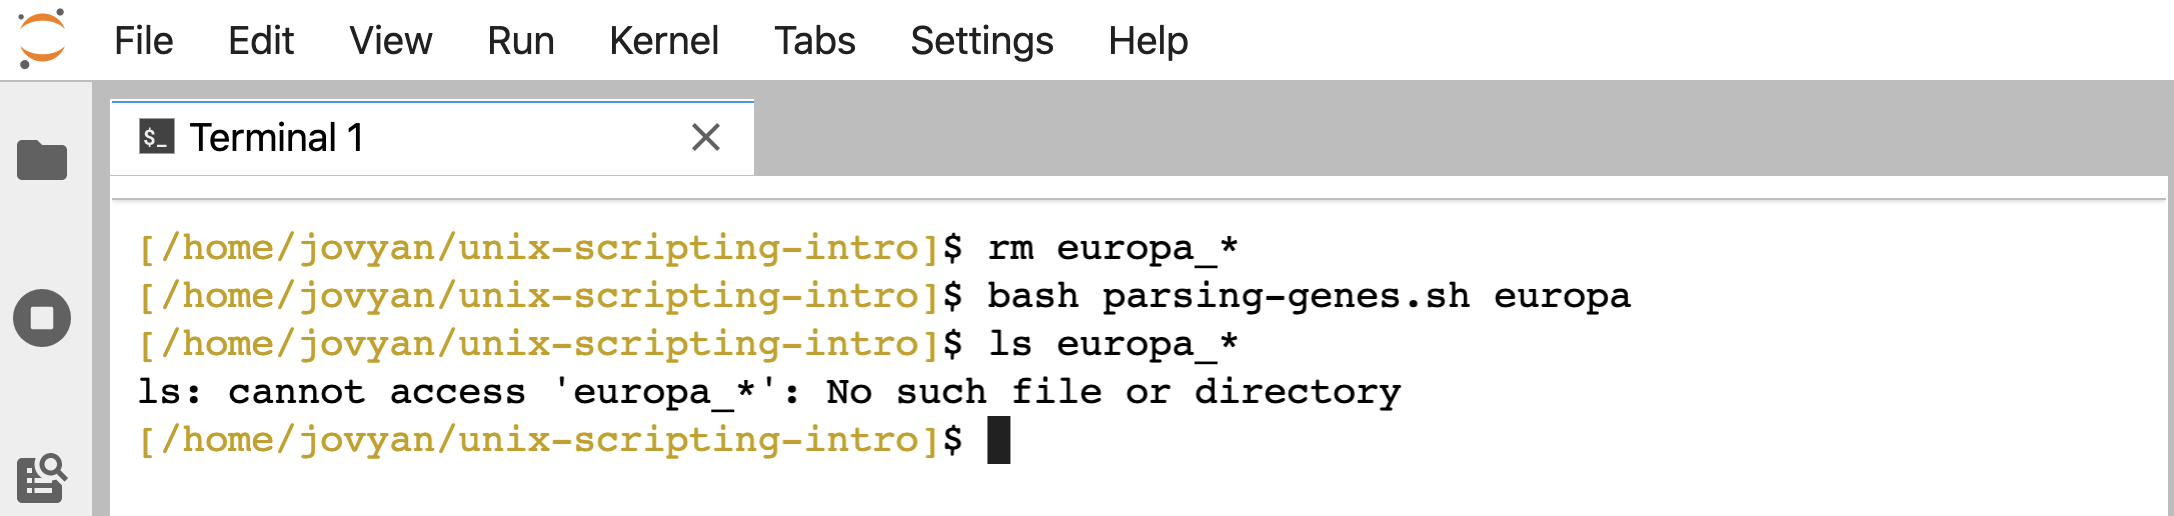
Now, if we try it on something that isn’t found, we don’t generate any empty files:
rm europa_*
bash parsing-genes.sh europa
ls europa_*
Adding some print statements
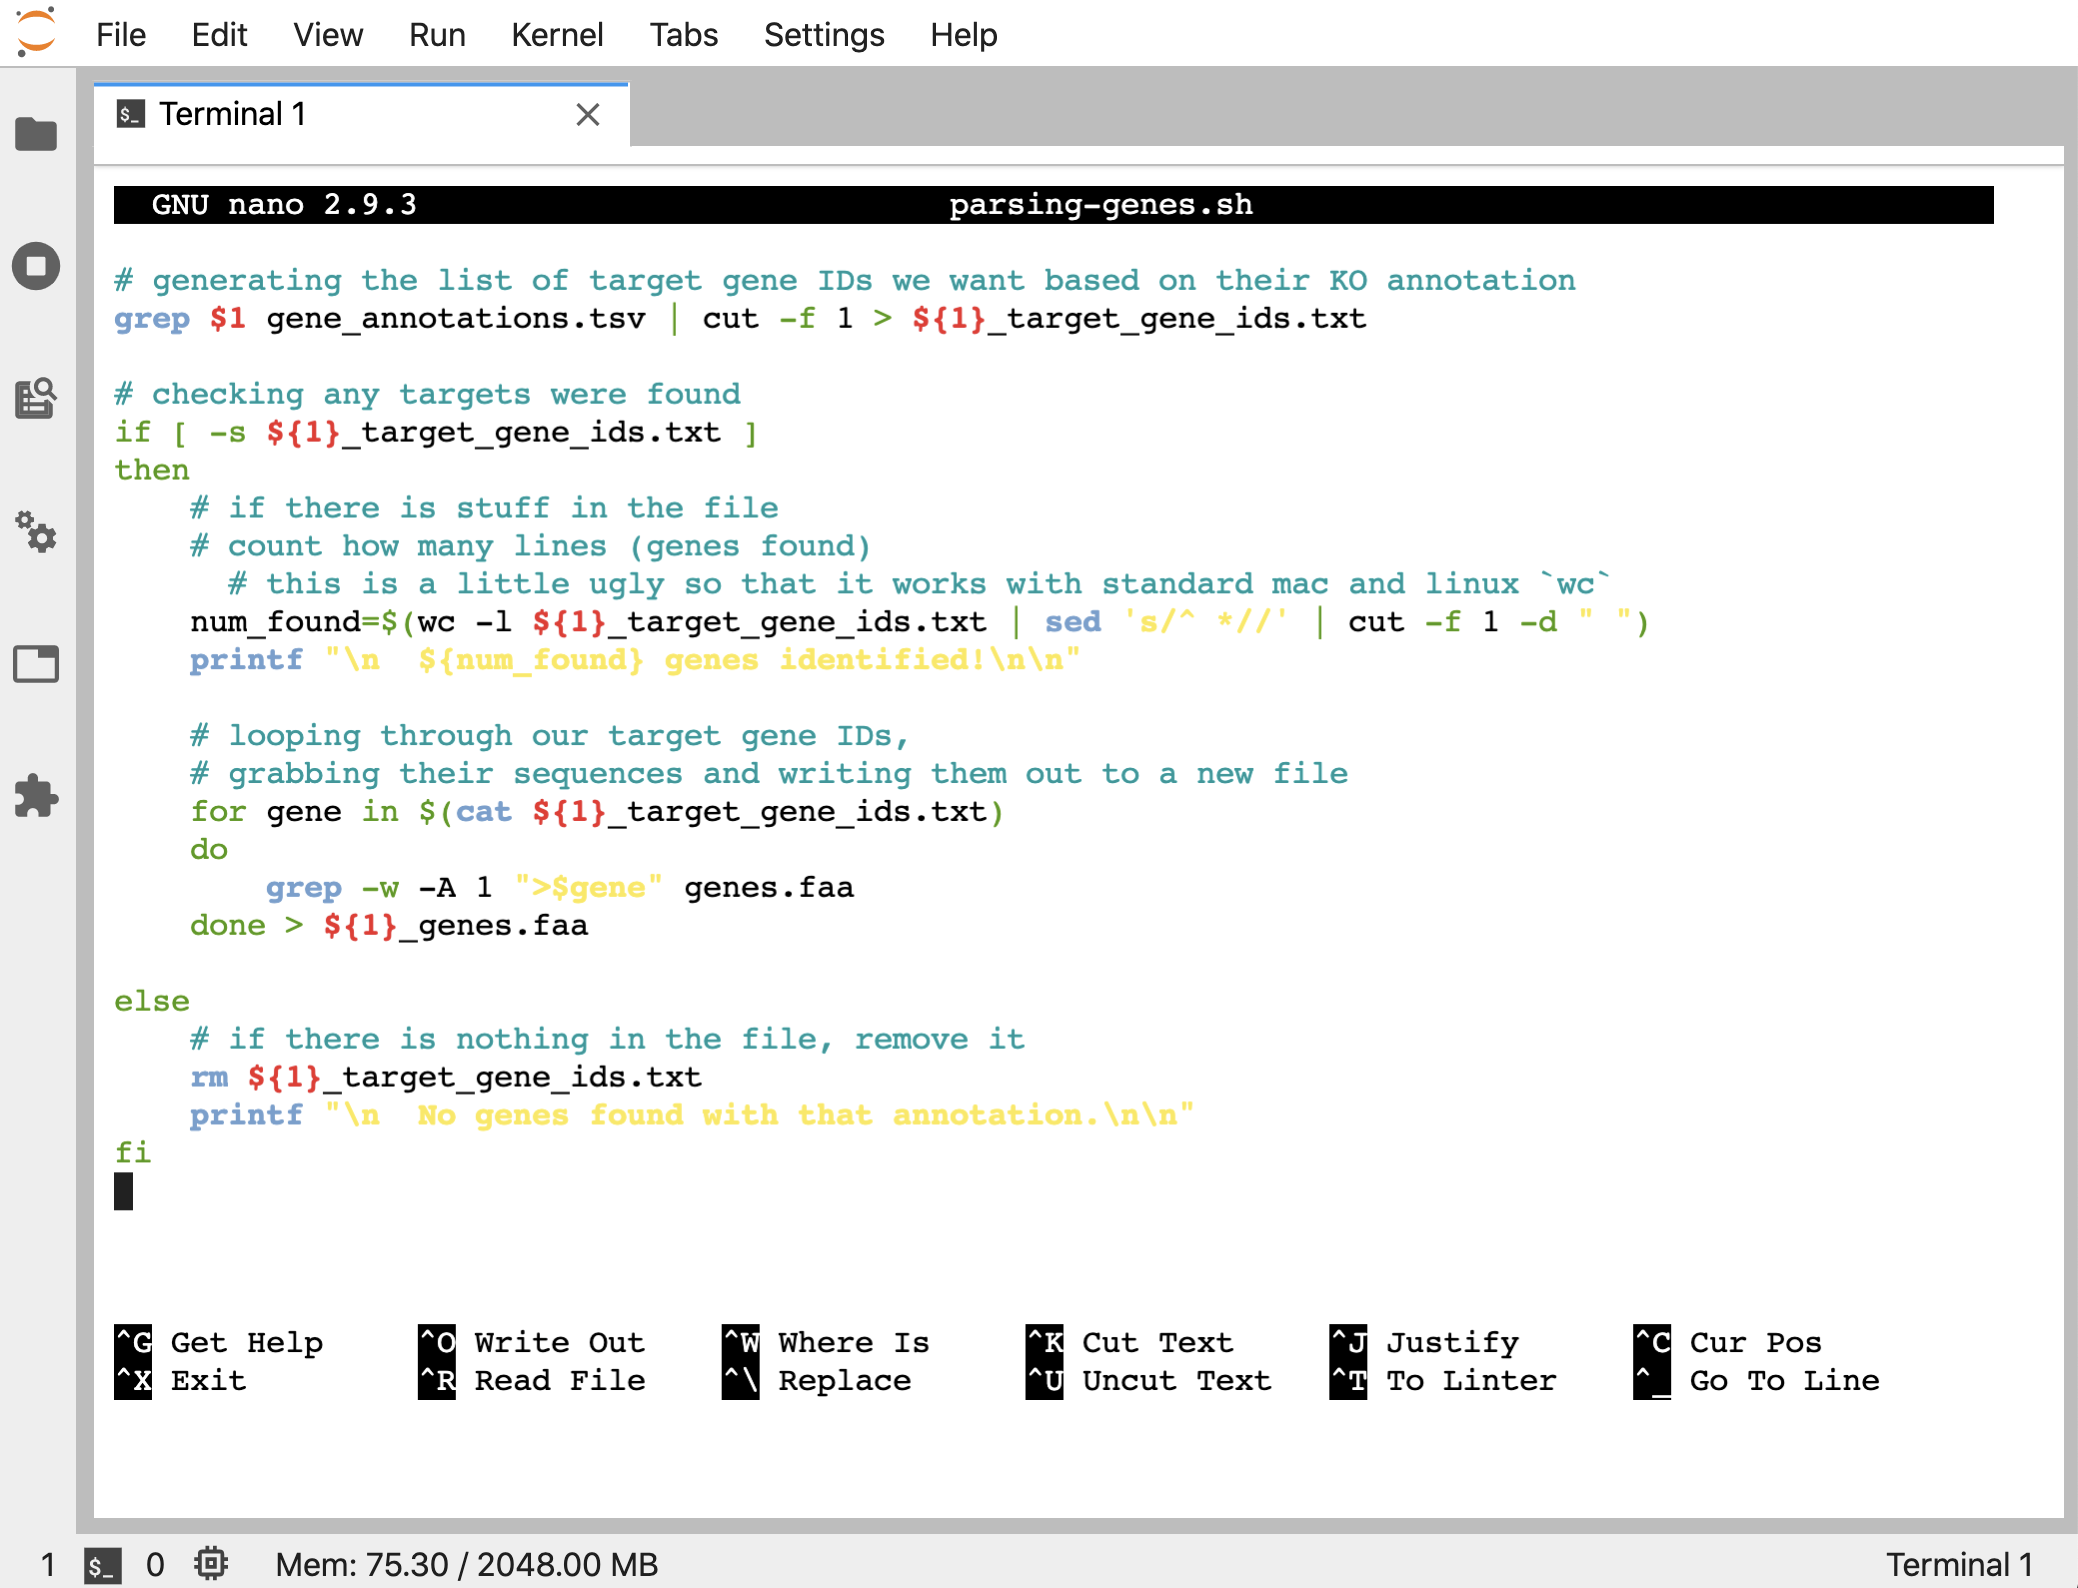
Sometimes it’s convenient to have a script print out some information for us too. Right now, this script just returns the prompt whether it found what we looked for or not. We can check afterwards, but if we wanted we can also make the program report some basic information. Let’s modify the script to be like this:
# generating the list of target gene IDs we want based on their KO annotation
grep $1 gene_annotations.tsv | cut -f 1 > ${1}_target_gene_ids.txt

# checking any targets were found
if [ -s ${1}_target_gene_ids.txt ]
then
    # if there is stuff in the file
    # count how many lines (genes found)
      # this is a little ugly so that it works with standard mac and linux `wc`
    num_found=$(wc -l ${1}_target_gene_ids.txt | sed 's/^ *//' | cut -f 1 -d " ")
    printf "\n  ${num_found} genes identified!\n\n"

    # looping through our target gene IDs,
    # grabbing their sequences and writing them out to a new file
    for gene in $(cat ${1}_target_gene_ids.txt)
    do
        grep -w -A 1 ">$gene" genes.faa
    done > ${1}_genes.faa

else
    # if there is nothing in the file, remove it
    rm ${1}_target_gene_ids.txt
    printf "\n  No genes found with that annotation.\n\n"
fi
To download current version if wanted:
curl -L -o parsing-genes.sh https://ndownloader.figshare.com/files/28464615
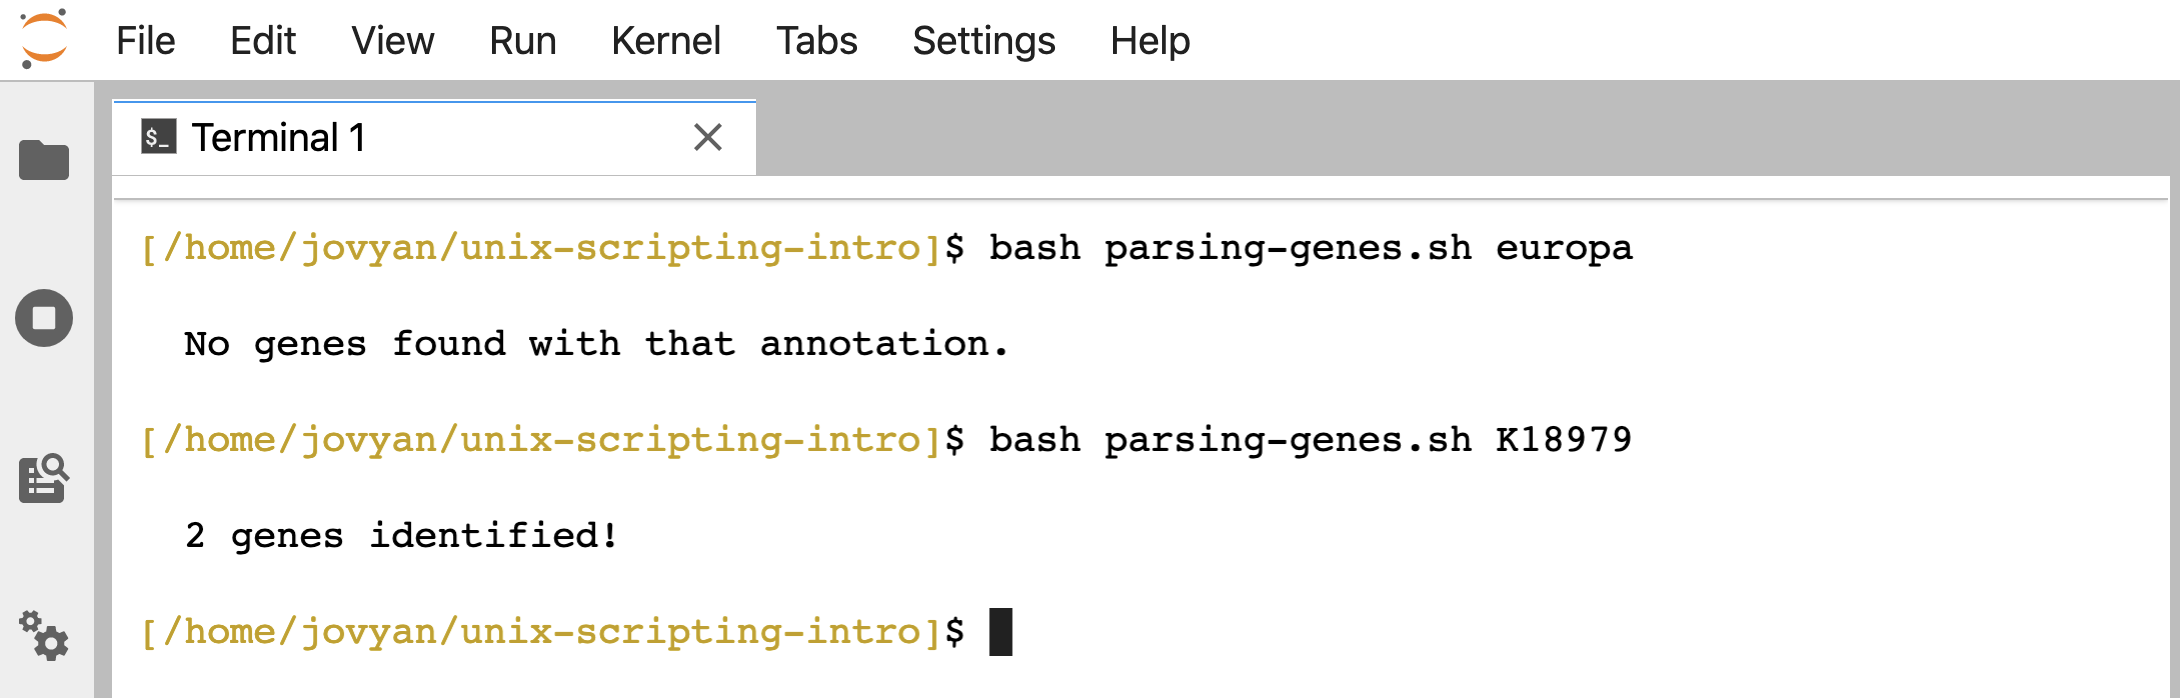
Now we get a message printed out when we run the script letting us know if it found any, and if so, how many:
bash parsing-genes.sh europa
bash parsing-genes.sh K18979
A few additional notes
What’s a ‘shebang’?
A shebang is something that we can put as the first line of the script, starting with #!, that tells the computer what to use to try to run that file as a script. The way we were running things above, specifying bash as the command before giving it the script as a positional argument, we didn’t need a shebang because we were explicitly telling the computer what to use. If we want to be able to run the script without doing that (or we want to call it from somewhere else in our PATH), we should add a shebang (we’ll also need to change permissions on the file, but we’ll discuss that next).
There are different ways to specify what to use, but a good, portable shebang for bash is #! /usr/bin/env bash, so let’s add that to the top of our script like so:
#!/usr/bin/env bash

# generating the list of target gene IDs we want based on their KO annotation
grep $1 gene_annotations.tsv | cut -f 1 > ${1}_target_gene_ids.txt

# checking any targets were found
if [ -s ${1}_target_gene_ids.txt ];
then
    # if there is stuff in the file
    # count how many lines (genes found)
      # this is a little ugly so that it works with standard mac and linux `wc`
    num_found=$(wc -l ${1}_target_gene_ids.txt | sed 's/^ *//' | cut -f 1 -d " ")
    printf "\n  ${num_found} genes identified!\n\n"

    # looping through our target gene IDs,
    # grabbing their sequences and writing them out to a new file
    for gene in $(cat ${1}_target_gene_ids.txt)
    do
        grep -w -A 1 ">$gene" genes.faa
    done > ${1}_genes.faa

else
    # if there is nothing in the file, remove it
    rm ${1}_target_gene_ids.txt
    printf "\n  No genes found with that annotation.\n\n"
fi
What about permissions?
Whether or not we need to worry about permissions also depends on how we want to be able to call the script. If we are going to call it like we initially did above, giving bash as the command before it, then we don’t need to change permissions on the file because it’s being “read” by the bash interpreter we are passing it to. But if we wanted to be able to call it without specifying the command bash first, then we need to change the permissions on the file to make it executable.
We can do this with the chmod command, for change mode, like so:
ls -l parsing-genes.sh
chmod +x parsing-genes.sh
ls -l parsing-genes.sh
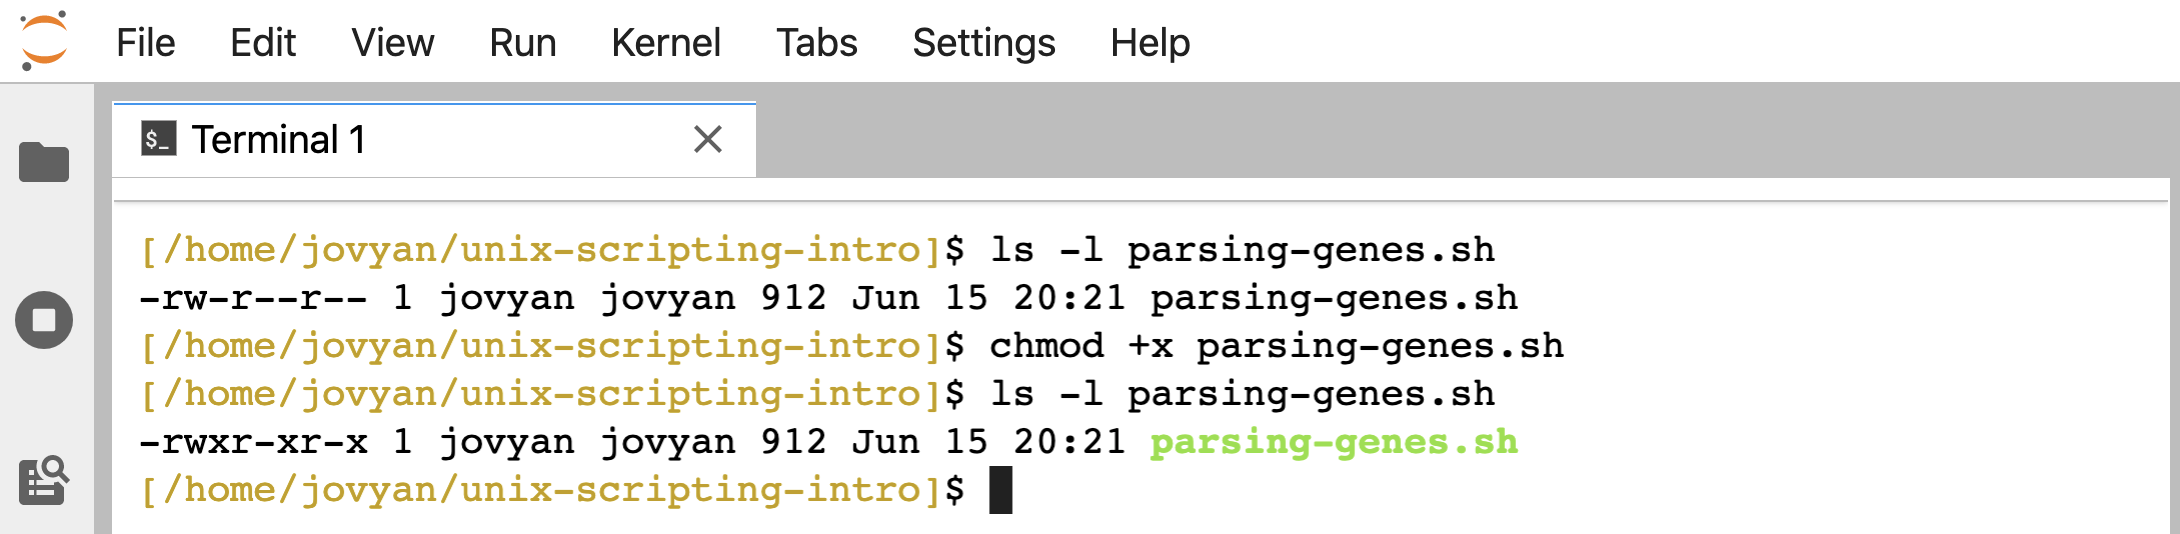
Getting into permissions in general is beyond this page, but note that there are 3 x’s where there used to be dashes, and the color of the file changed here (which may or may not happen depending on how our environment is set up).
Now we can use the script like so:
./parsing-genes.sh K03110
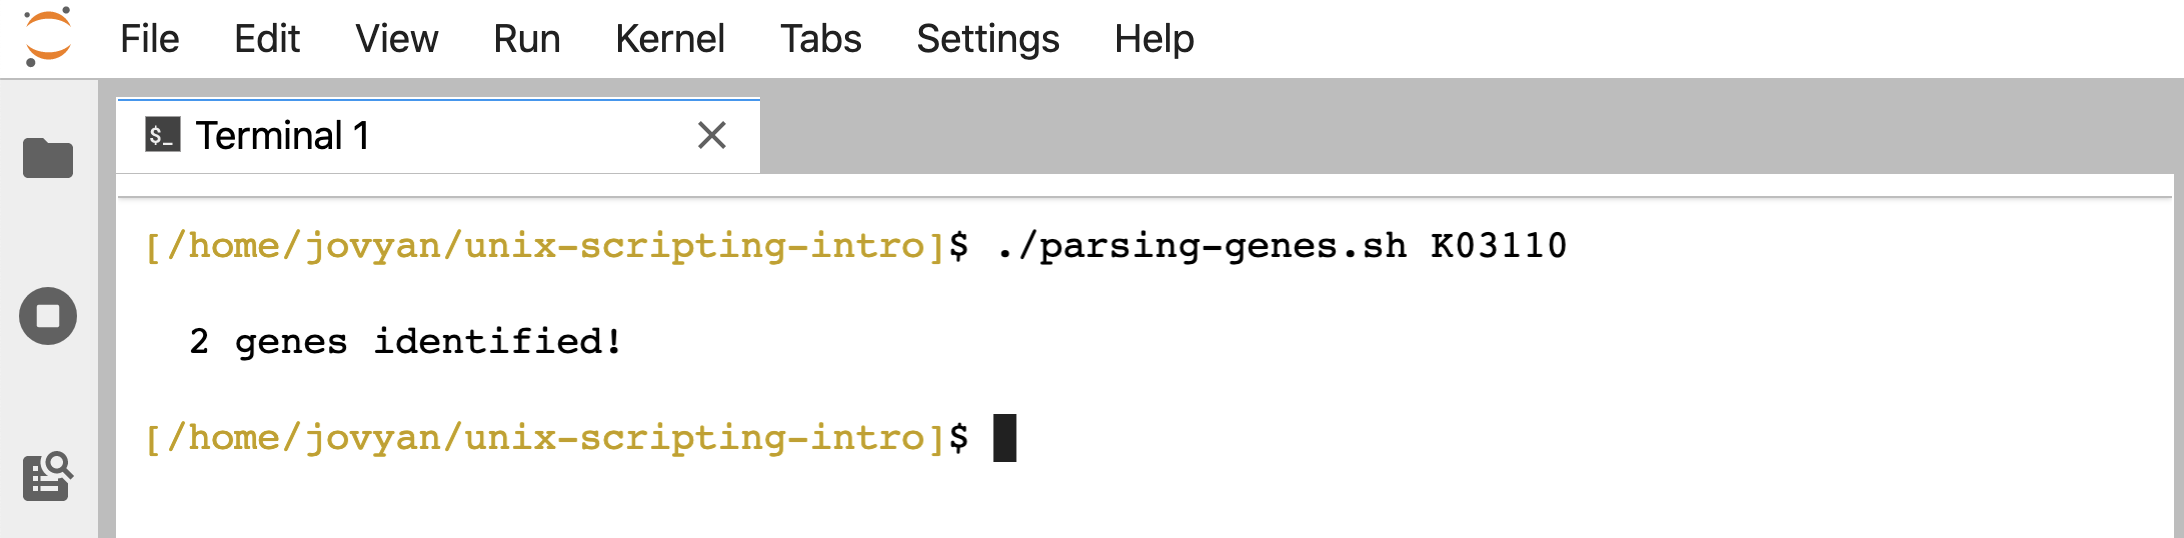
Whereas if we tried that before the chmod command we ran, we would have gotten a permission denied error.
NOTE
We needed to put the./in front of the script name because things that we can call as executable programs like we are trying to do here need to be in our PATH. And since the current working directory isn’t in our PATH, we need to explicitly point to the file’s location. On the PATH page, we can see what the PATH is and an example of how we make it so a script can be called from anywhere on our computer just like the commands we’ve been using.
Bash “strict mode”
As noted above, there are not a whole lot of guard-rails while writing scripts in a Unix-like shell. It’s generally not a big deal when creating ad-hoc scripts to do small things for our own analyses, but if getting into writing larger scripts, Bash strict mode might be something worth looking into. Bash strict mode is sort of an unofficial shorthand for adding things to the top of the script like set -u which will cause the script to exit if an undefined variable is used, and set -e which exits if any command doesn’t finish with its standard exit code. If you are interested in looking into this more, Aaron Maxwell has a page up on his site here that nicely walks through examples where his prefered configuration can help avoid potential problems.
And that’s the general gist of scripting at the command-line! Again, what’s here is only a brief introduction, hopefully helpful to get any newcomers up-and-running! If creating a script that we want to have available anywhere (as in, not just callable from the same directory or explicitly pointing to it), check out the page on what our PATH is. And if wanting to dive deeper into a more technical, fuller treatment of shell scripting, one place to start would be over at linuxconfig.org with their scripting tutorials here 🙂